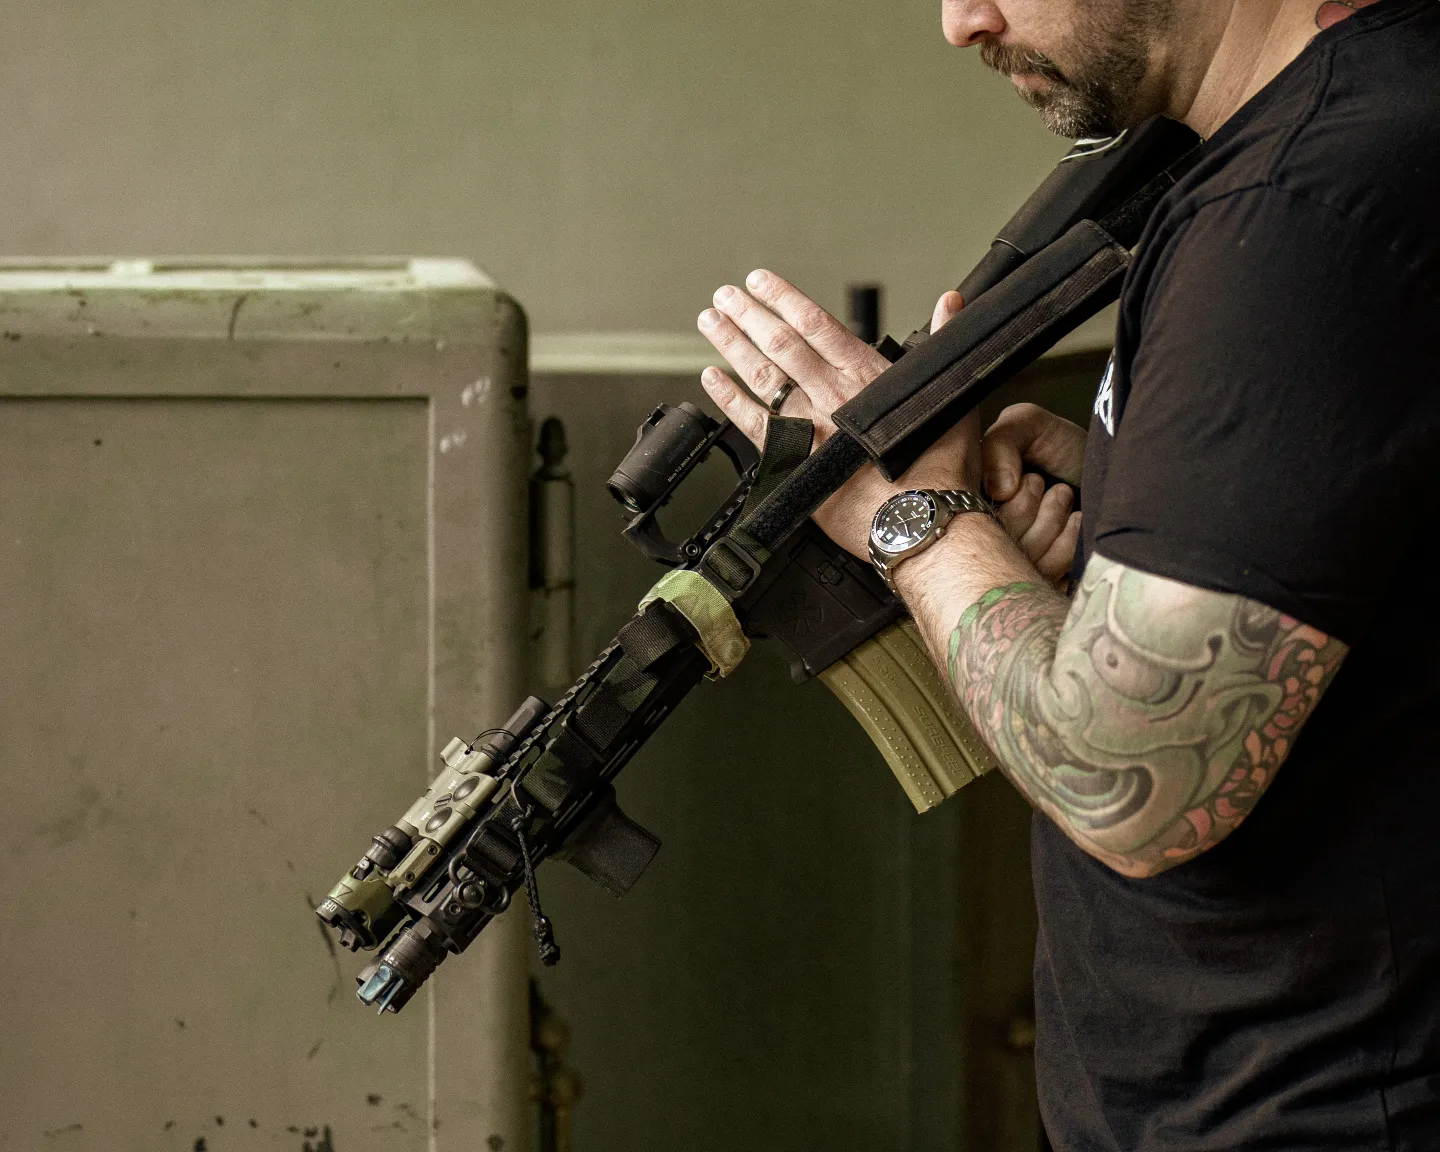
We get asked all the time what our favorite sling is. We had favorites in the past, but decided to team up with Cole-Tac and launch a sling that was modular and easy to adjust for the end user. Some folks like shoulder pads, others don’t. So why not make a sling that has a removable or adjustable shoulder pad. We also have other accessories launching for The Link (https://www.anrkydexholsters.com/product/the-link-anr-sling/). The Link Rifle Sling is the sling sample for this blog. We hope this short step-by-step instructions help you set up your AR-15 sling positioning.
Setting Up the Sling and Swivel
Setting up an AR-15 sling is very simple. There are a few tips and tricks to have a kick ass sling setup that is diverse and useful to the end user. Rule number 1, you want as much distance between the front of the sling and the rear of the sling as possible. M-Lok mounted QD cups are one of our go-to options for mounting slings to the front of the AR-15. They also make picatinny-to-QD, KeyMod to QD, M-Lok to QD, Picatinny-to-loop sling accessories for mounting. Find the best that works for your weapon system handguard and stock (brace) assemblies. Below, a M-LOK to QD cup is mounted as far forward on the Noveske N4 SBR 10″ handguard.

Step 1: Give yourself about 3.50 inches of slack on the loose end of the sling. Tuck the sling swivel under the front portion of the Tri-Glide.

Step 2: Pull the loose end of the sling through the first slot of the Tri-Glide nice and tight. Almost causing the swivel to live under the front Tri-Glide bar. This will ensure that the sling is TIGHT to the swivel and will not loosen or twist.

Step 3: Next, feed the loose end of the AR-15 sling, back through the Tri-Glide towards the receiver. Again, make sure to maintain the tightness of the sling end. Note how much extra loose end is still exposed. THIS IS IMPORTANT.

Step 4: Then, making sure there is enough loose end to feed back through the Tri-Glide, feed it back through the sling Tri-Glide forward towards the muzzle. This maneuver ensures that the sling won’t accidently slip loose during use. If you do NOT do this, you WILL loose control of your weapon system, and the sling will slip out.

Step 5: Repeat steps one through four, except on the rear of the stock. We personally prefer to loop the sling through the AR-15 stock rear sling loop. We looped the loose end of the AR-15 sling through the vertical slot of the stock (the vertical slot that is perpendicular to the rear butt pad of the stock). This setup is specific to right handed shooters. Reverse the stock sling setup for left handed shooters.

Step 6: Adjust your reward length of pull. The Tri-Glide in the top left quadrant of the photo is the rearward length of pull adjustment Tri-Glide for lengthening or shortening the sling to the user and weapon system. We ALWAYS make sure the sling has enough slack when fully extended (pulling the sling pull tab reward towards the stock side of the weapon system) for the end user to switch shoulders to the weak side. See below image.

In Closing
These simple sling setup steps will give you the maximum capabilities of your AR-15 sling and sling use. With the correct length of pull, the end user can effectively run the weapon system from the primary shoulder, transition to the weak side shoulder, and comfortably stow the weapon slung when static. Tighter length of pull can be useful if the end user has to perform admin or medical, but still wants to stay battle ready. You can tighten the length of pull quickly and easily, so that when the weapon is tightened down with the sling pull tab; the weapon system is TIGHT to the user’s body The sling used in this demonstration was our very own The Link sling (https://www.anrkydexholsters.com/product/the-link-anr-sling/). Please check them out! We appreciate you taking the time to read this and we hope it helped!
If you like what you see, please check out other ANR Media by following the link below! https://linktr.ee/ANRDESIGNLLC
Here you can find the ANR Design Website, YouTube, Facebook Business Page, Twitter, and Twitch Accounts! Podcast Streaming!
Amazon Music https://music.amazon.com/podcasts/7b31bd97-c8b0-4926-be87-b7a073f07976/ANR-Unholstered
Spotify https://open.spotify.com/show/1AKResNkCXDDJpgvCgSJFc
Google https://podcasts.google.com/feed/aHR0cHM6Ly9mZWVkcy5zaW1wbGVjYXN0LmNvbS84dU53WjV4OQ
Apple https://podcasts.apple.com/us/podcast/anr-design-unholstered/id1561628365

