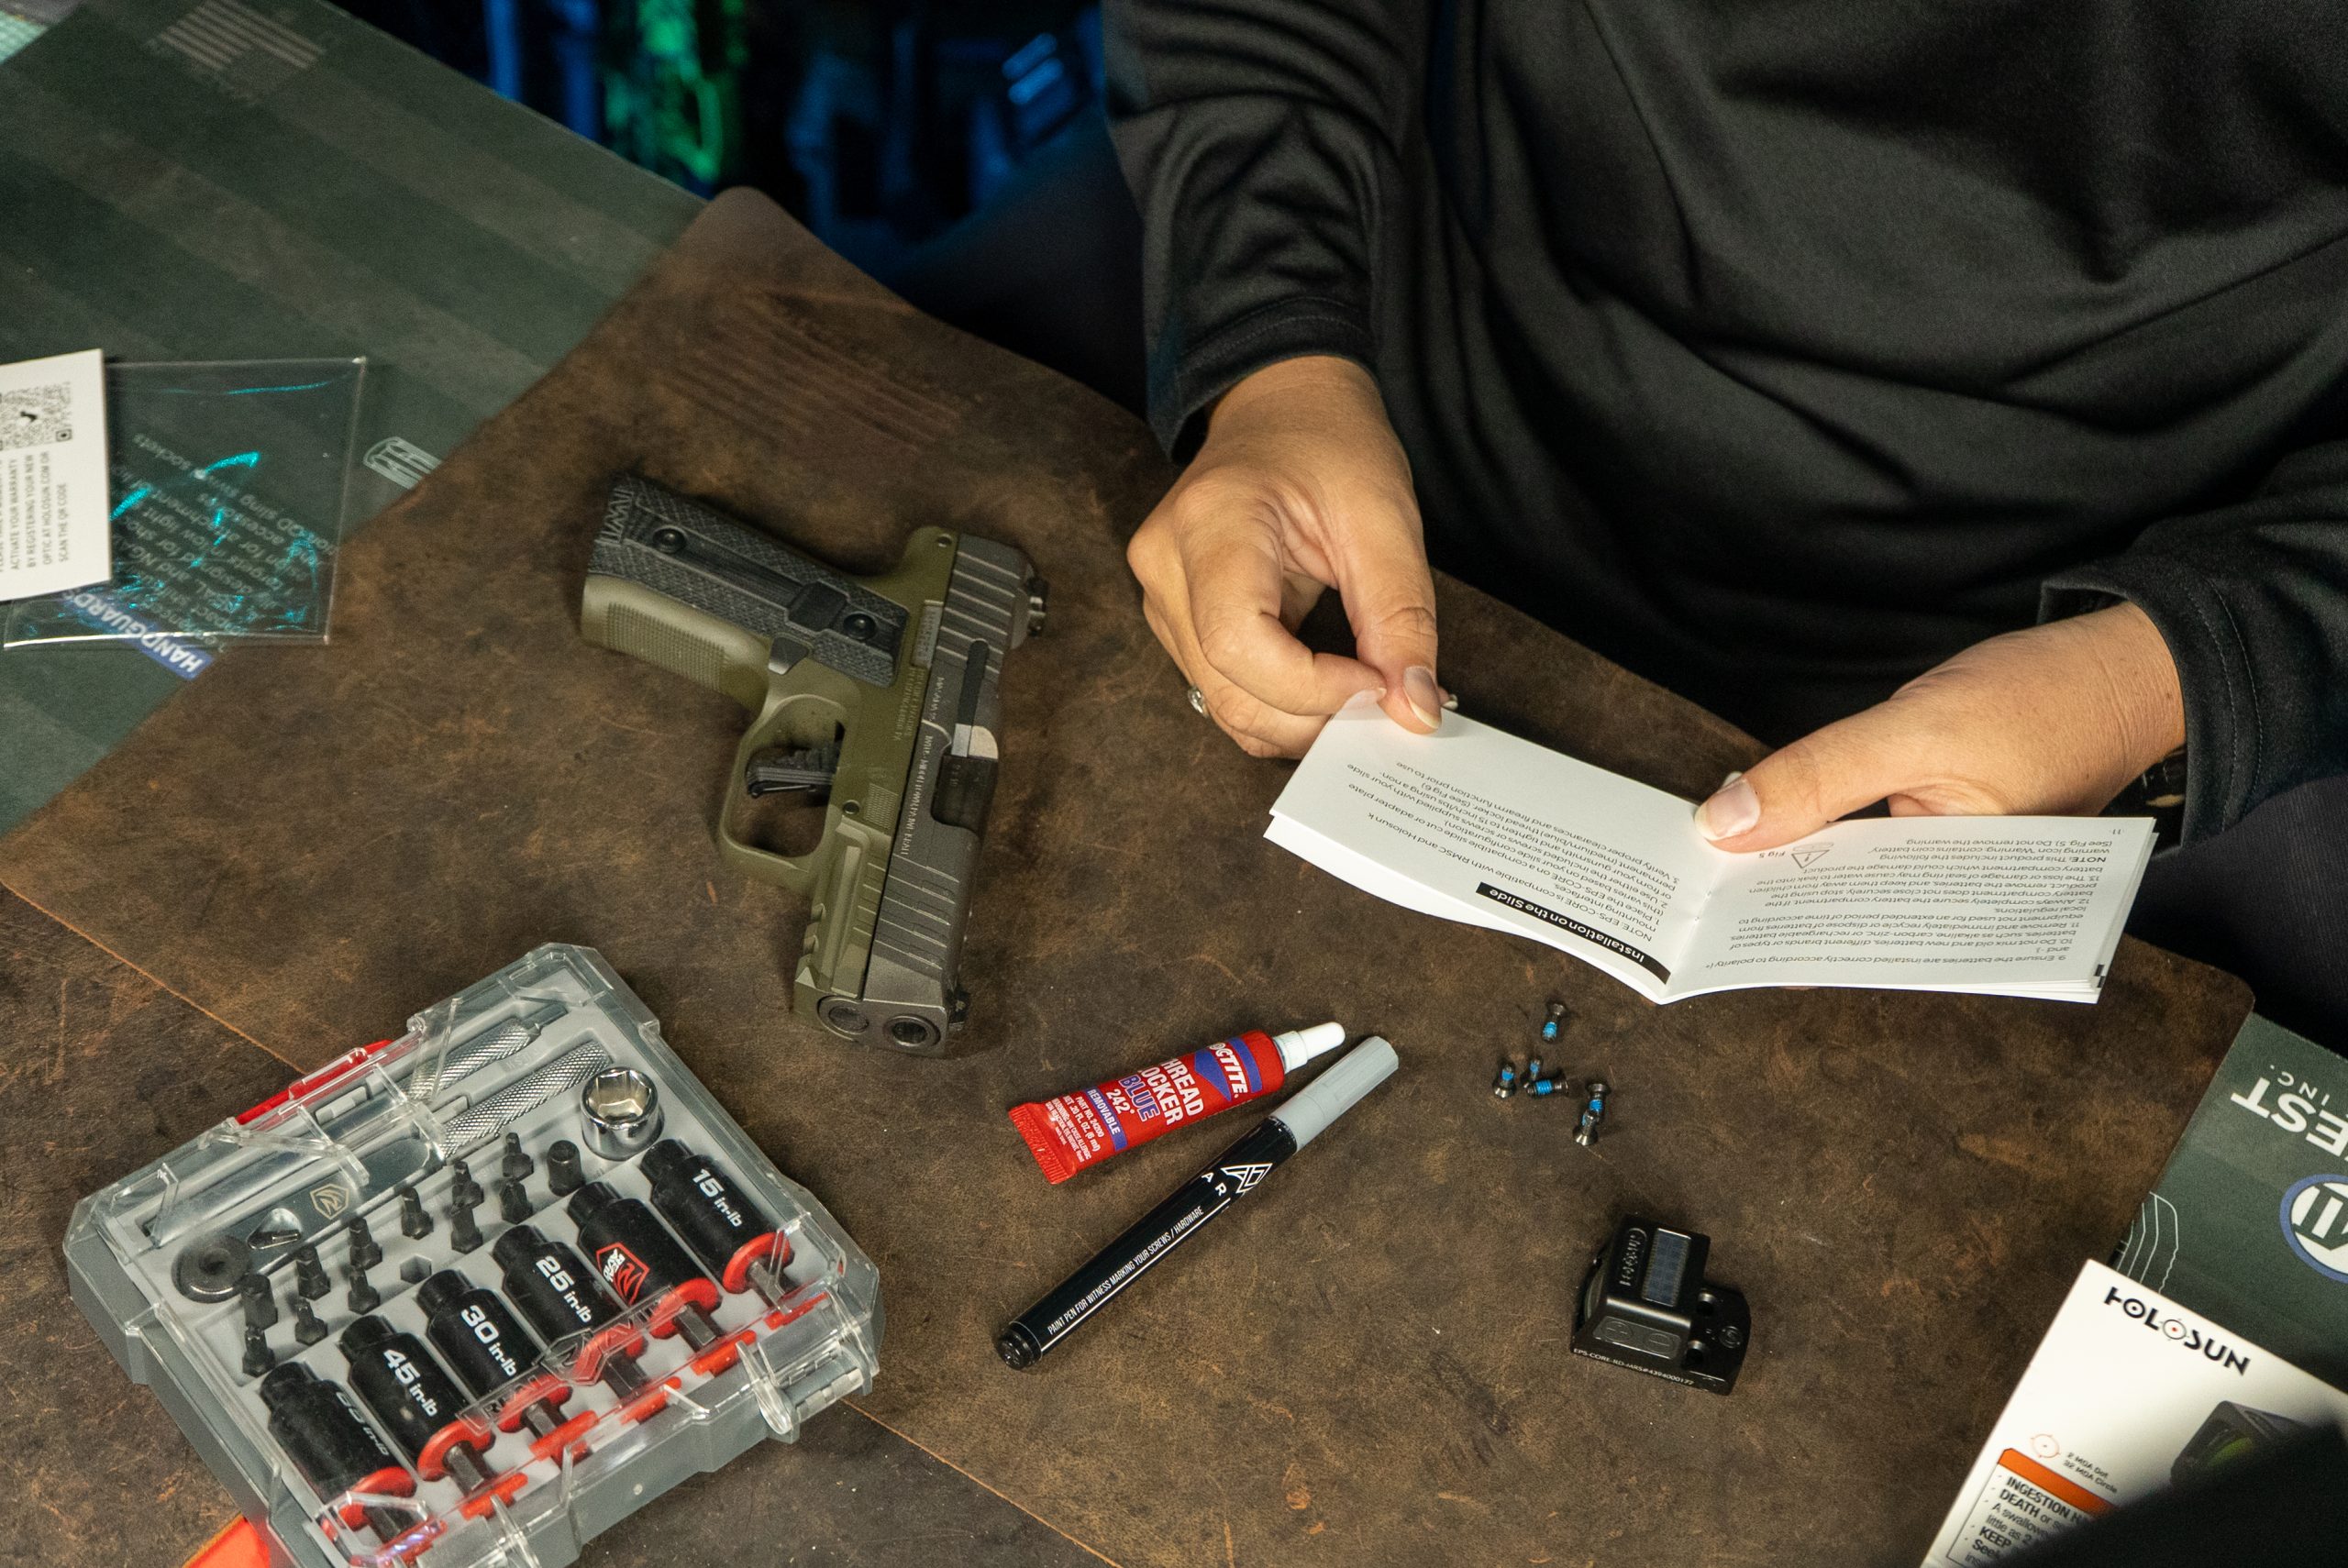
It’s amazing that every handgun seems to come optics ready from the factory these days, yet no one knows how to properly mount a red dot optic. Every time I go on Instagram, I see stripped screws, loose screws, overtorqued screws, and zero witness marks to save someone’s life. It’s extremely simple to mount a red dot optic correctly, but it does take proper tools and some forethought. Let’s dive in.
Tools Needed:
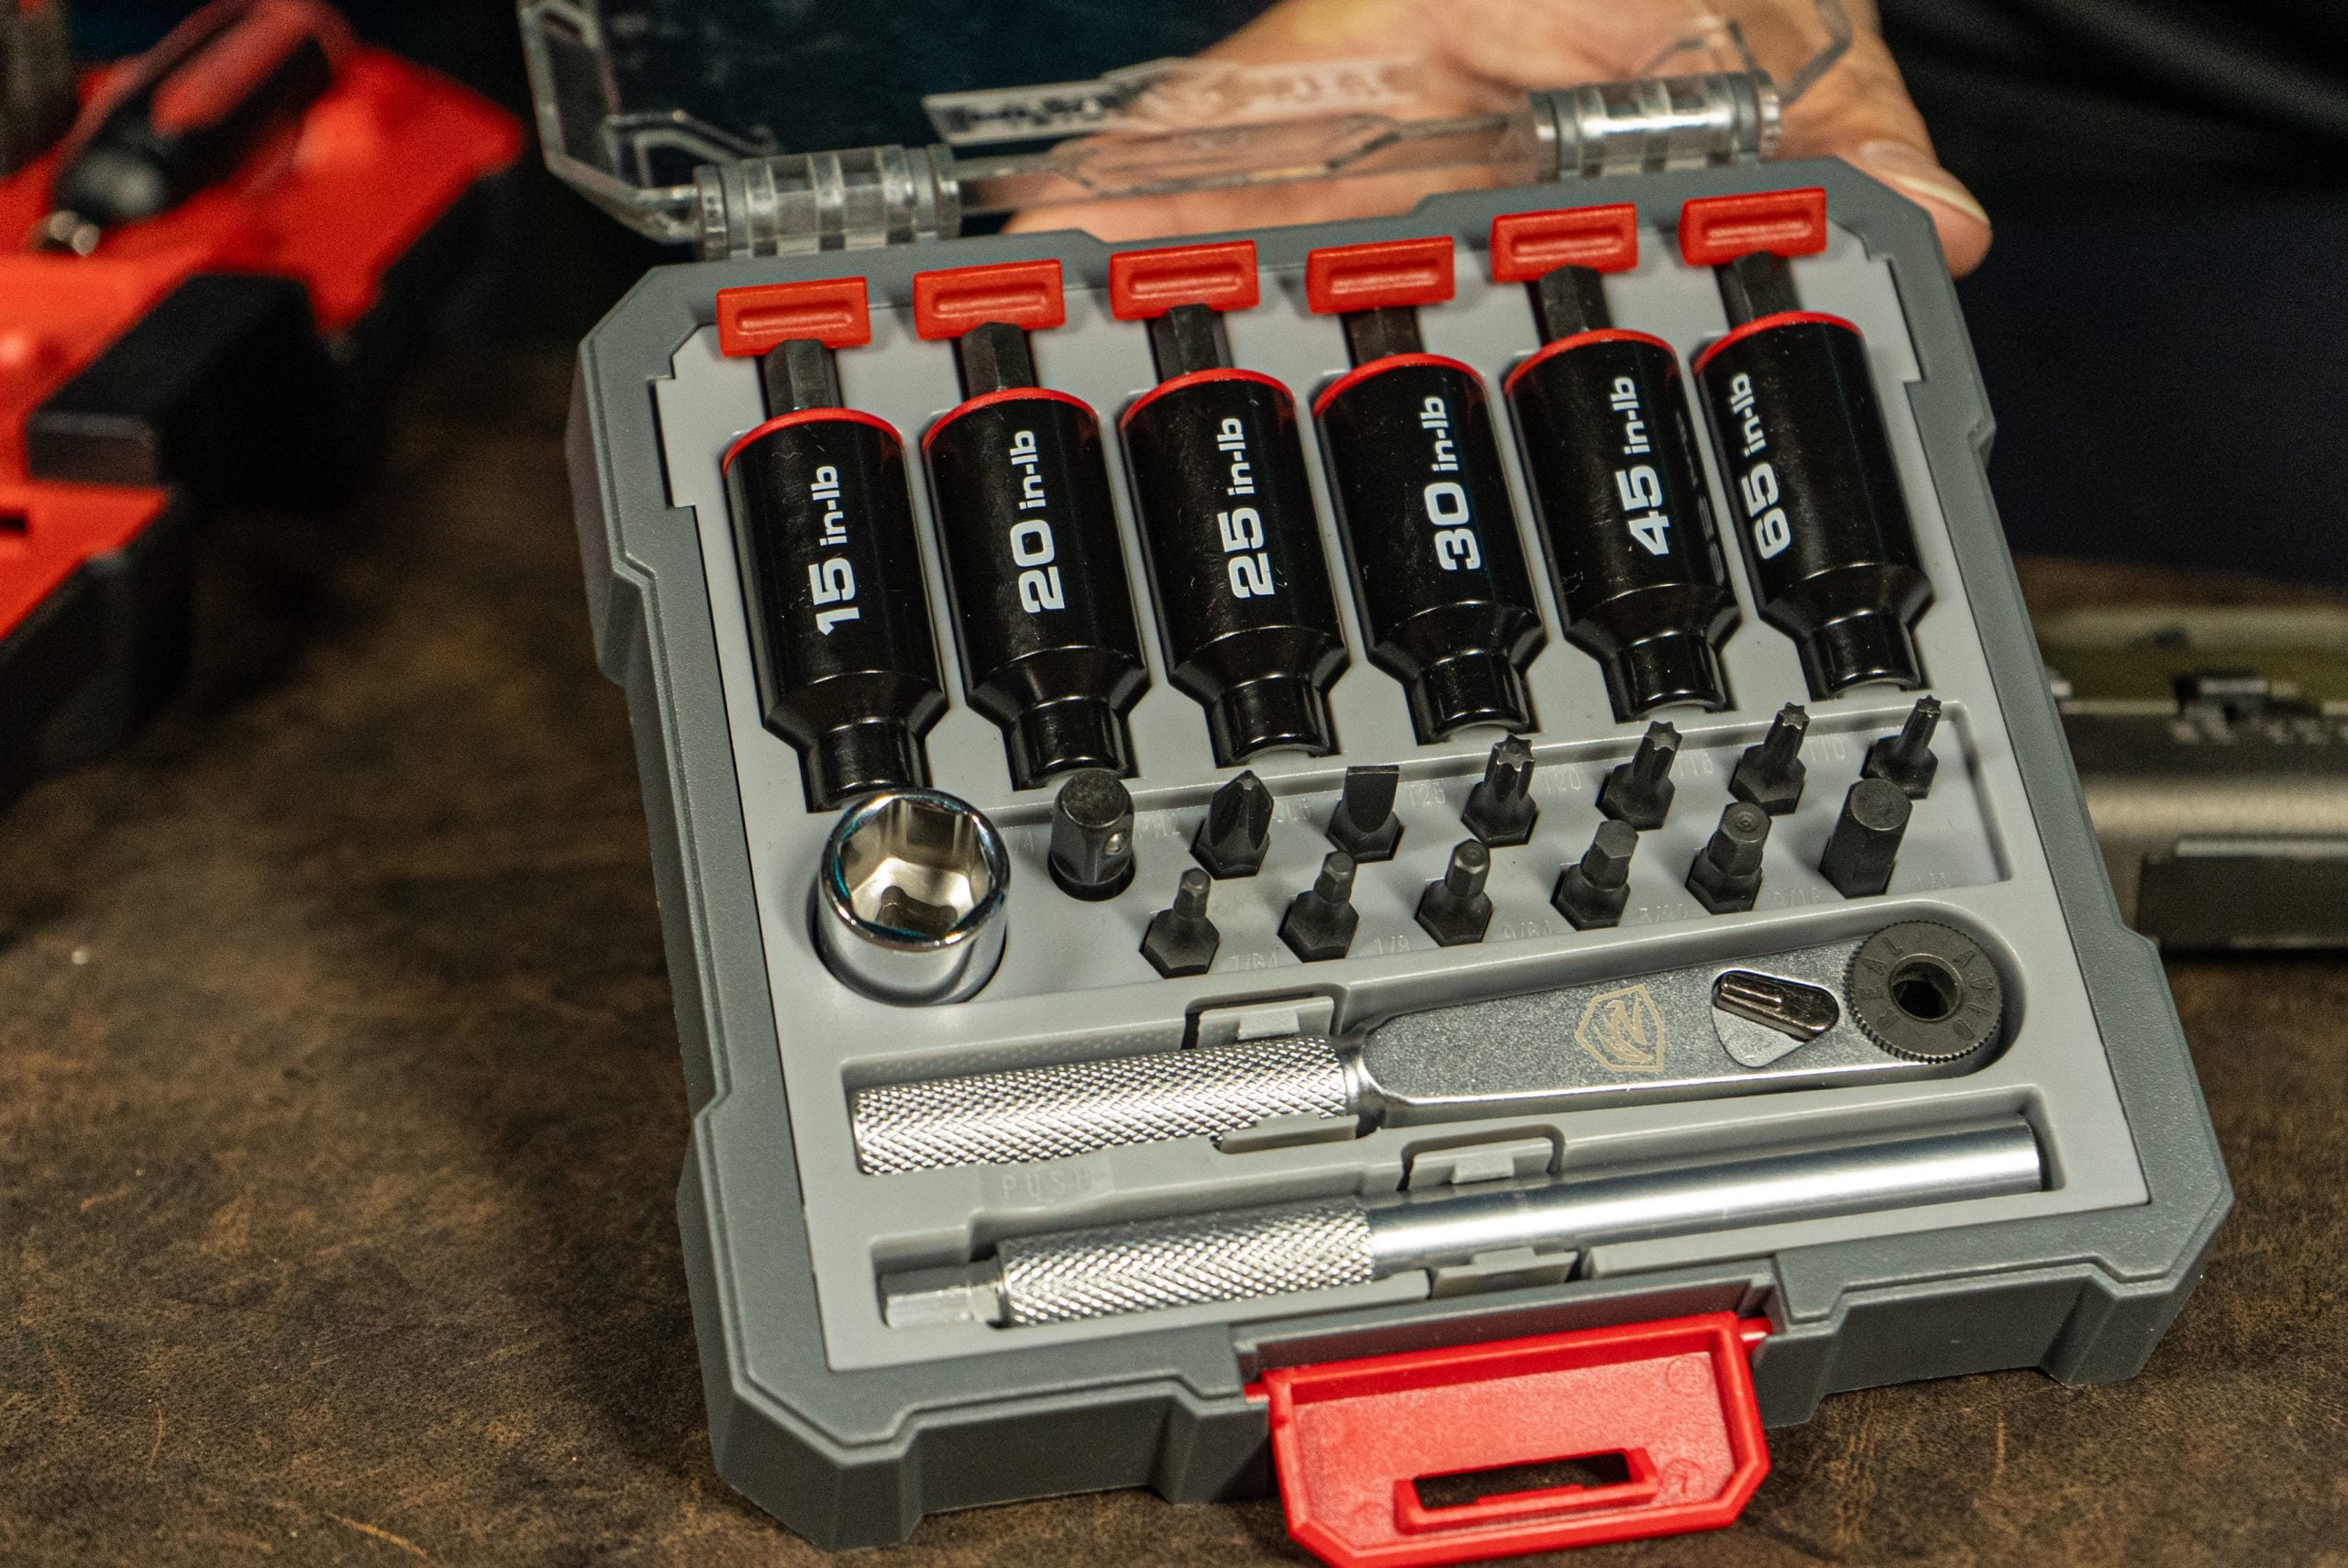
Real Avid Smart Torq Fixed Limiter & X3 Driver Kit
Every red dot, scope mount, scope rings, and more, have specific torque specifications to ensure your optic maintains zero and isn’t over or under torqued. You need a tool set that can apply the proper torque settings to your optic, scope mount, rings, etc. I use the Real Avid Smart Torq Fixed Limiter & X3 Driver Kit. I also have the Smart-Torq & Driver Master Set that I also can’t recommend enough. I love the fixed limiter set more for red dot optic mounting as it’s simple and takes seconds to grab what you need.
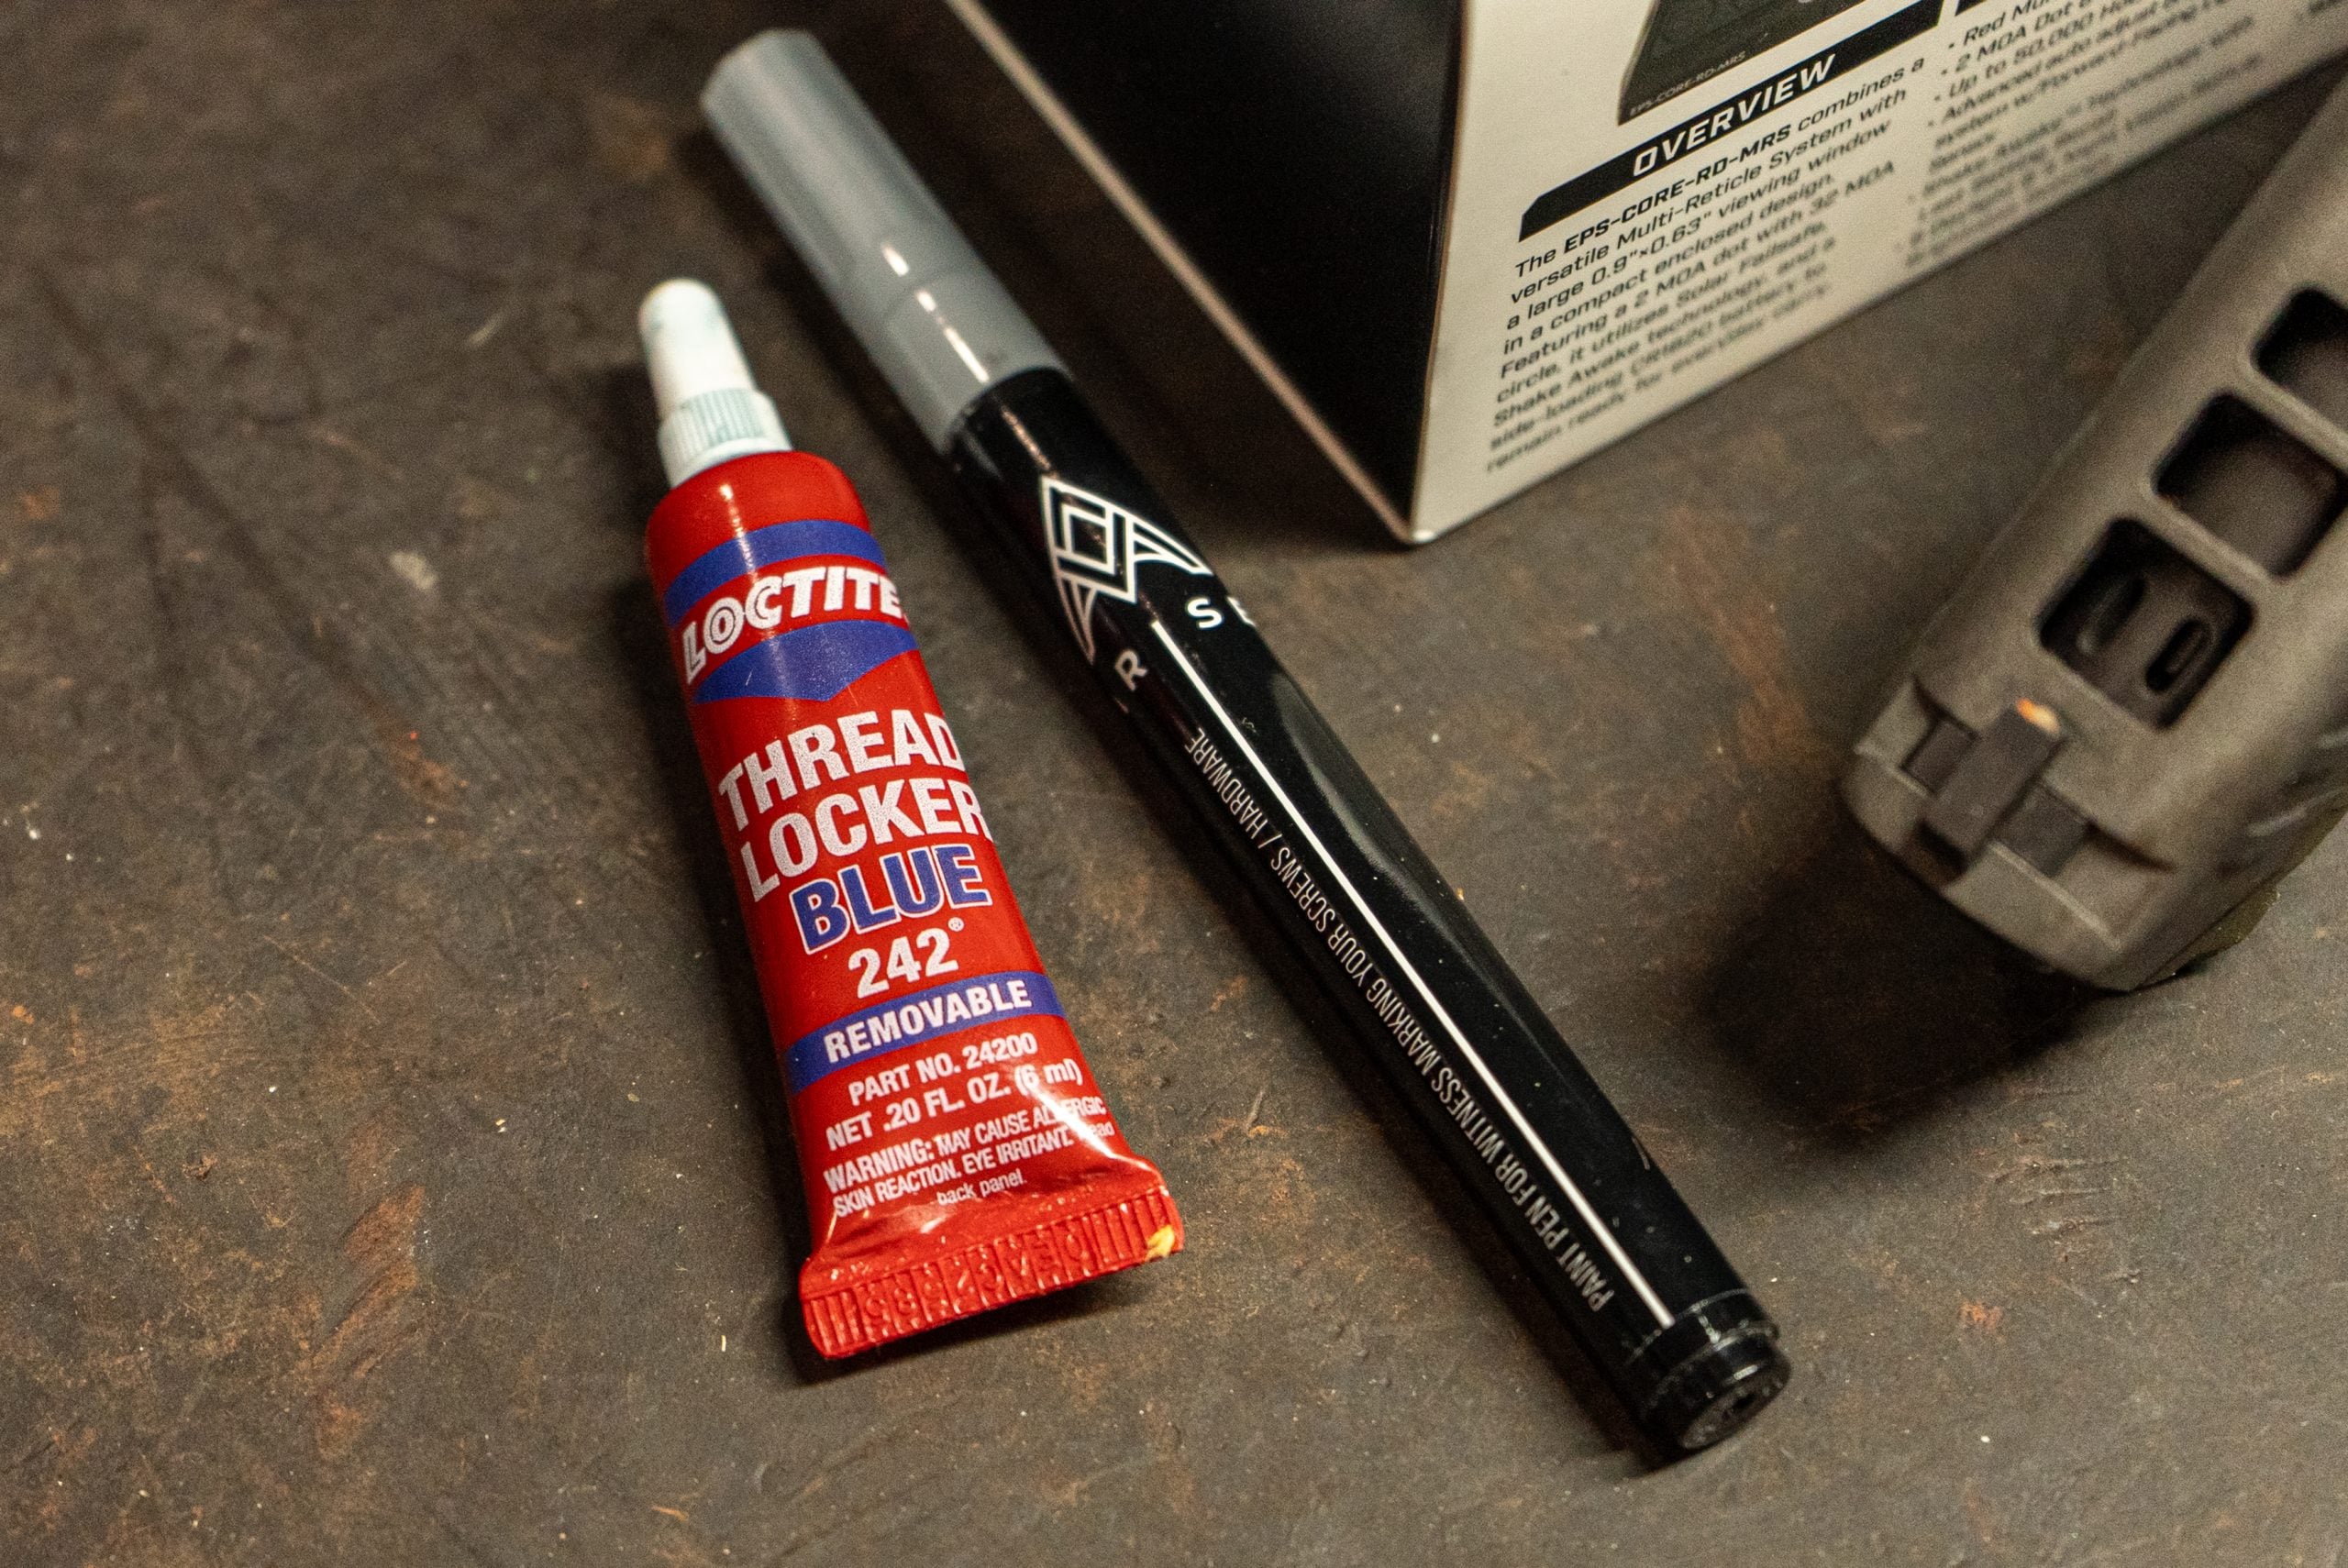
Thread Locker
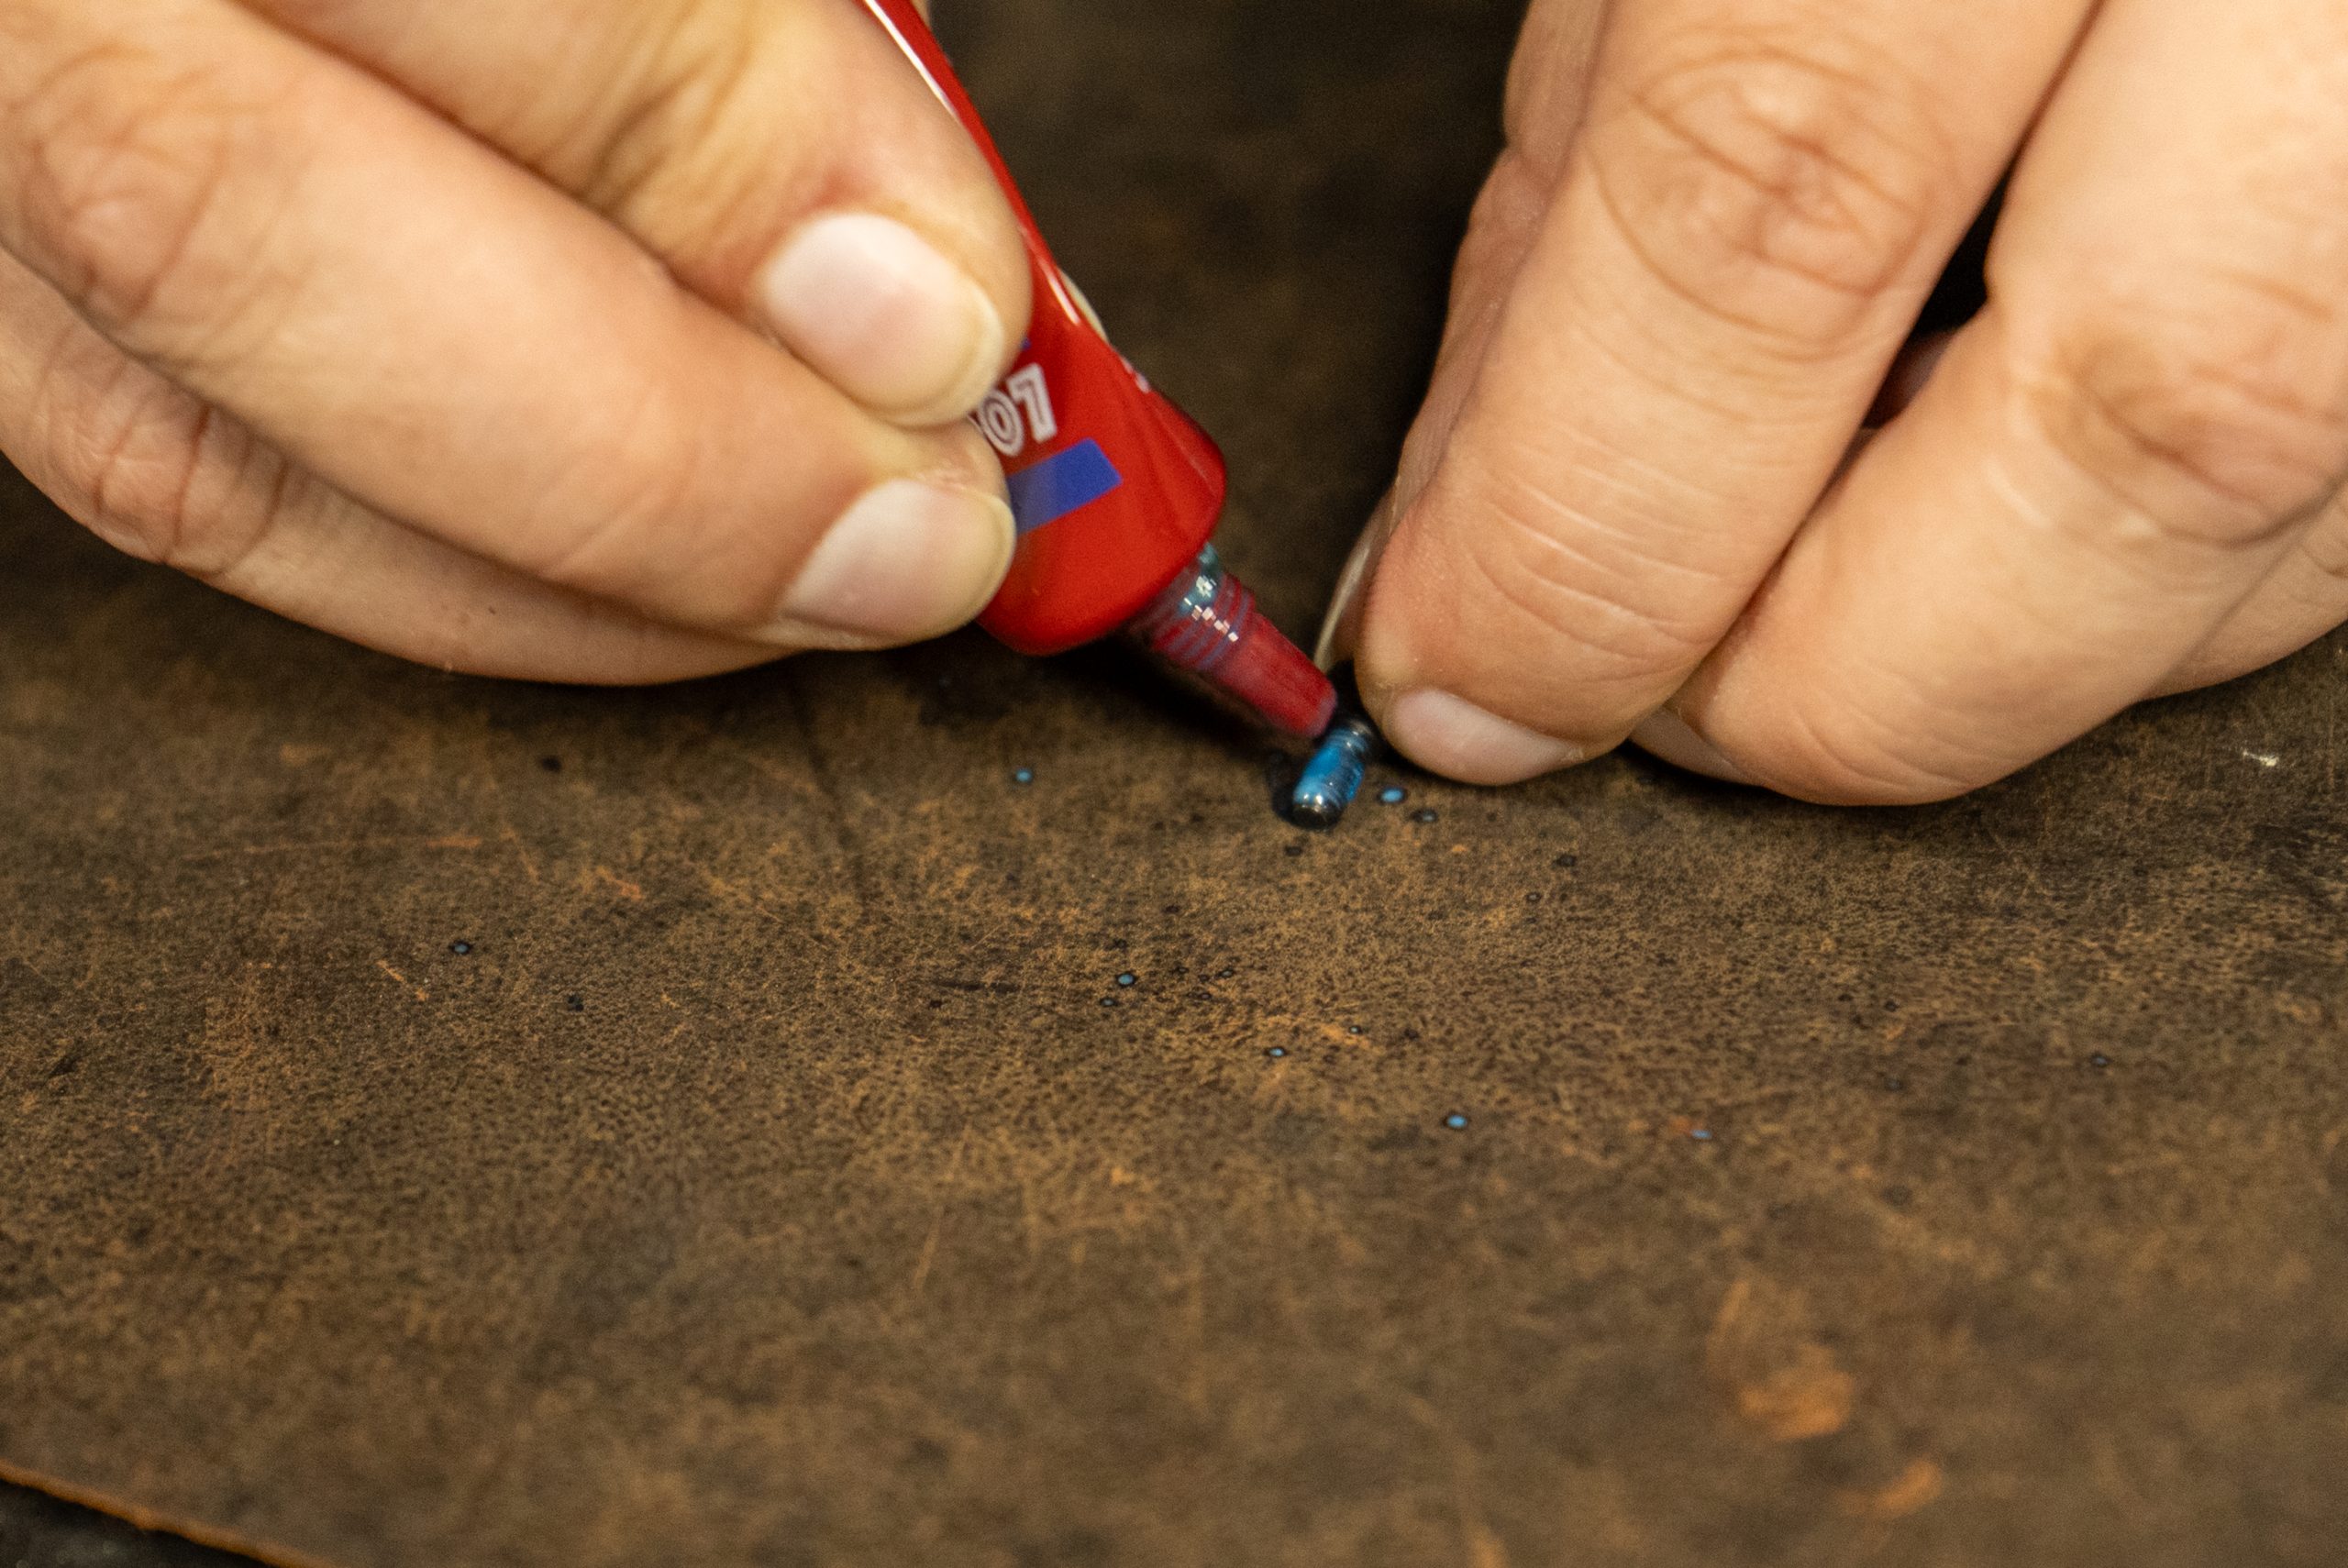
Most red dot optics come with set screws that have some sort of thread locker already on them. While that’s great, it’s never a bad idea to apply more, especially if you’re setting up a carry or competition handgun where you’re depending on the optic to stay on the gun. Most manufacturers recommend #242 blue Loctite, as it is removable.
Permanent Marker (Metallic Color Recommended)
The last thing you absolutely need before you mount a red dot optic is some sort of permanent marker or paint pen for making witness marks on your set screws. My friend Jordan from Arise Manufacturing was at GOALs in Iowa a few weeks ago with me and he gifted me a grey paint pen, so I pulled that out to use for this occasion.
Mounting the Holosun EPS CORE
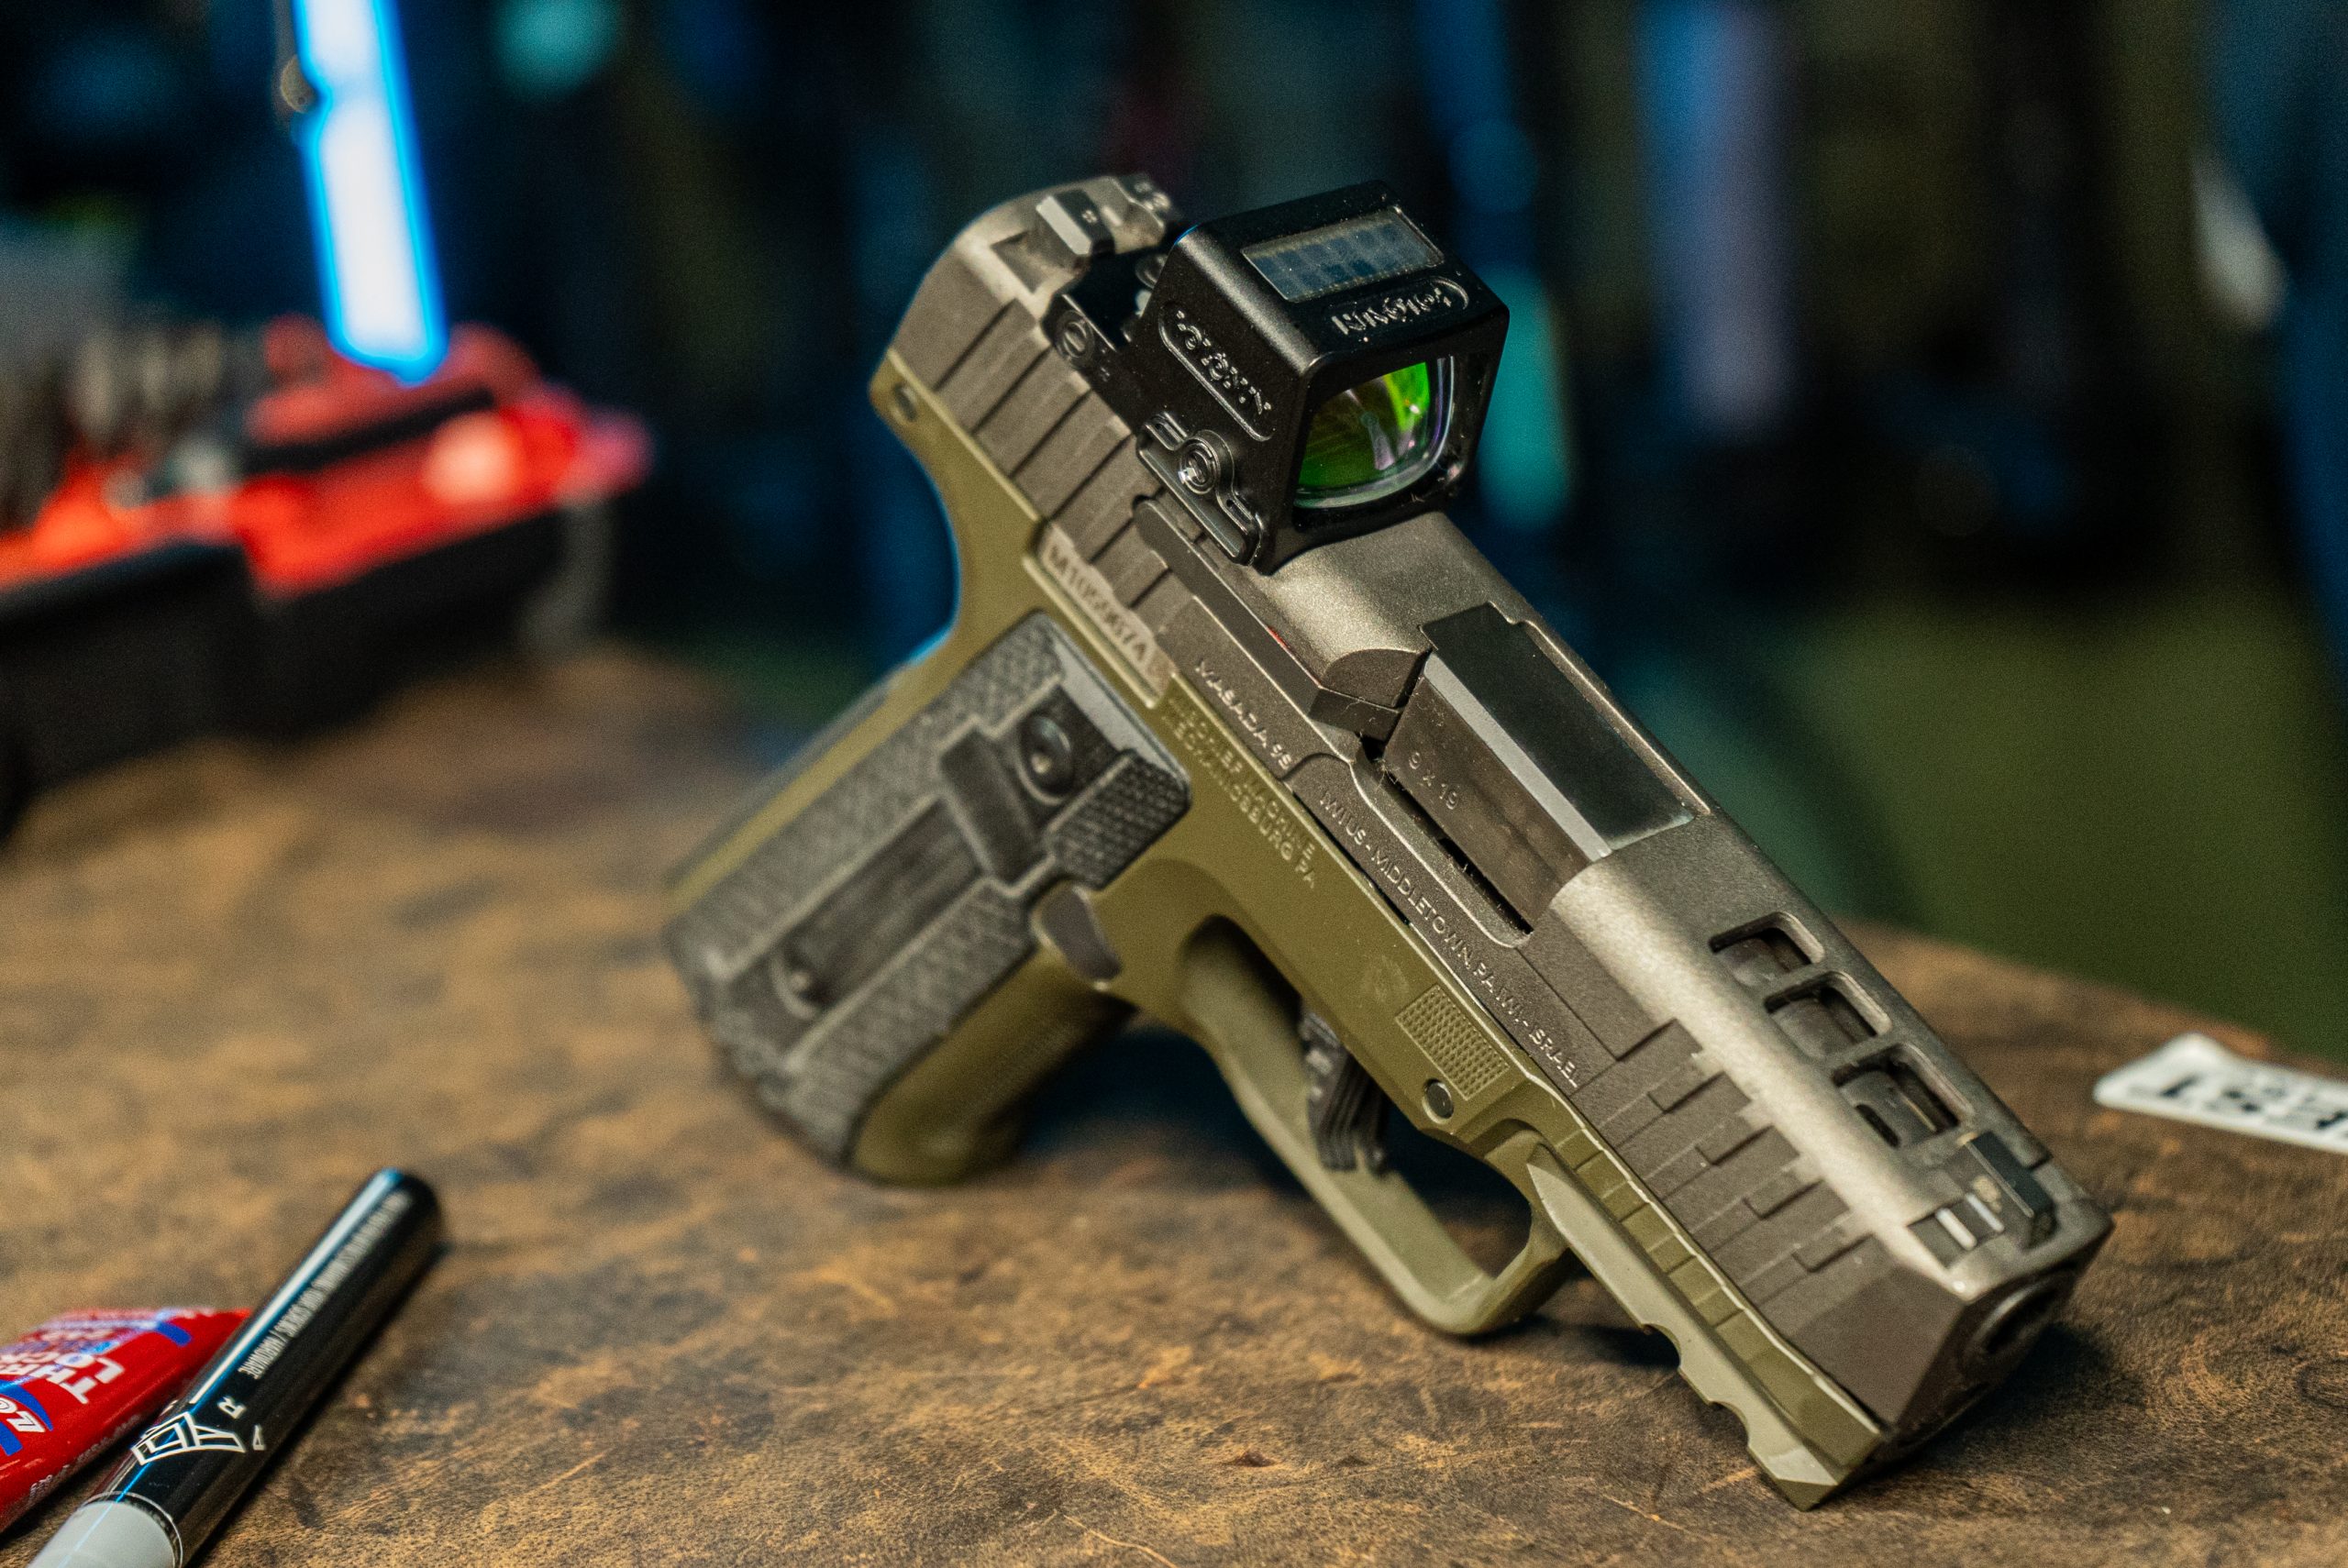
The Holosun EPS CORE is new for 2026, so I was excited to get one in hand to mount to my everyday carry pistol, the IWI Masada Slim Commander Elite with barrel porting and cerakote work by Pro 2 Customs. The EPS CORE optic has the RMSc footprint, making it direct mount compatible with the IWI pistol. I chose the multi-reticle system with allows you to use the 2 MOA dot only, the 32 MOA circle only, or a cirlce dot combination. Holosun knocked it out of the park with the design of the optic where it has a full-size EPS viewing lens and an enclosed emitter to protect it from dust, debris, and moisture. The battery compartment is on the side so you can replace the battery when needed without having to remove the optic from the gun. The EPS CORE features the solar failsafe and shake awake technology we’ve all come to know and love from Holosun.
Read the Manual
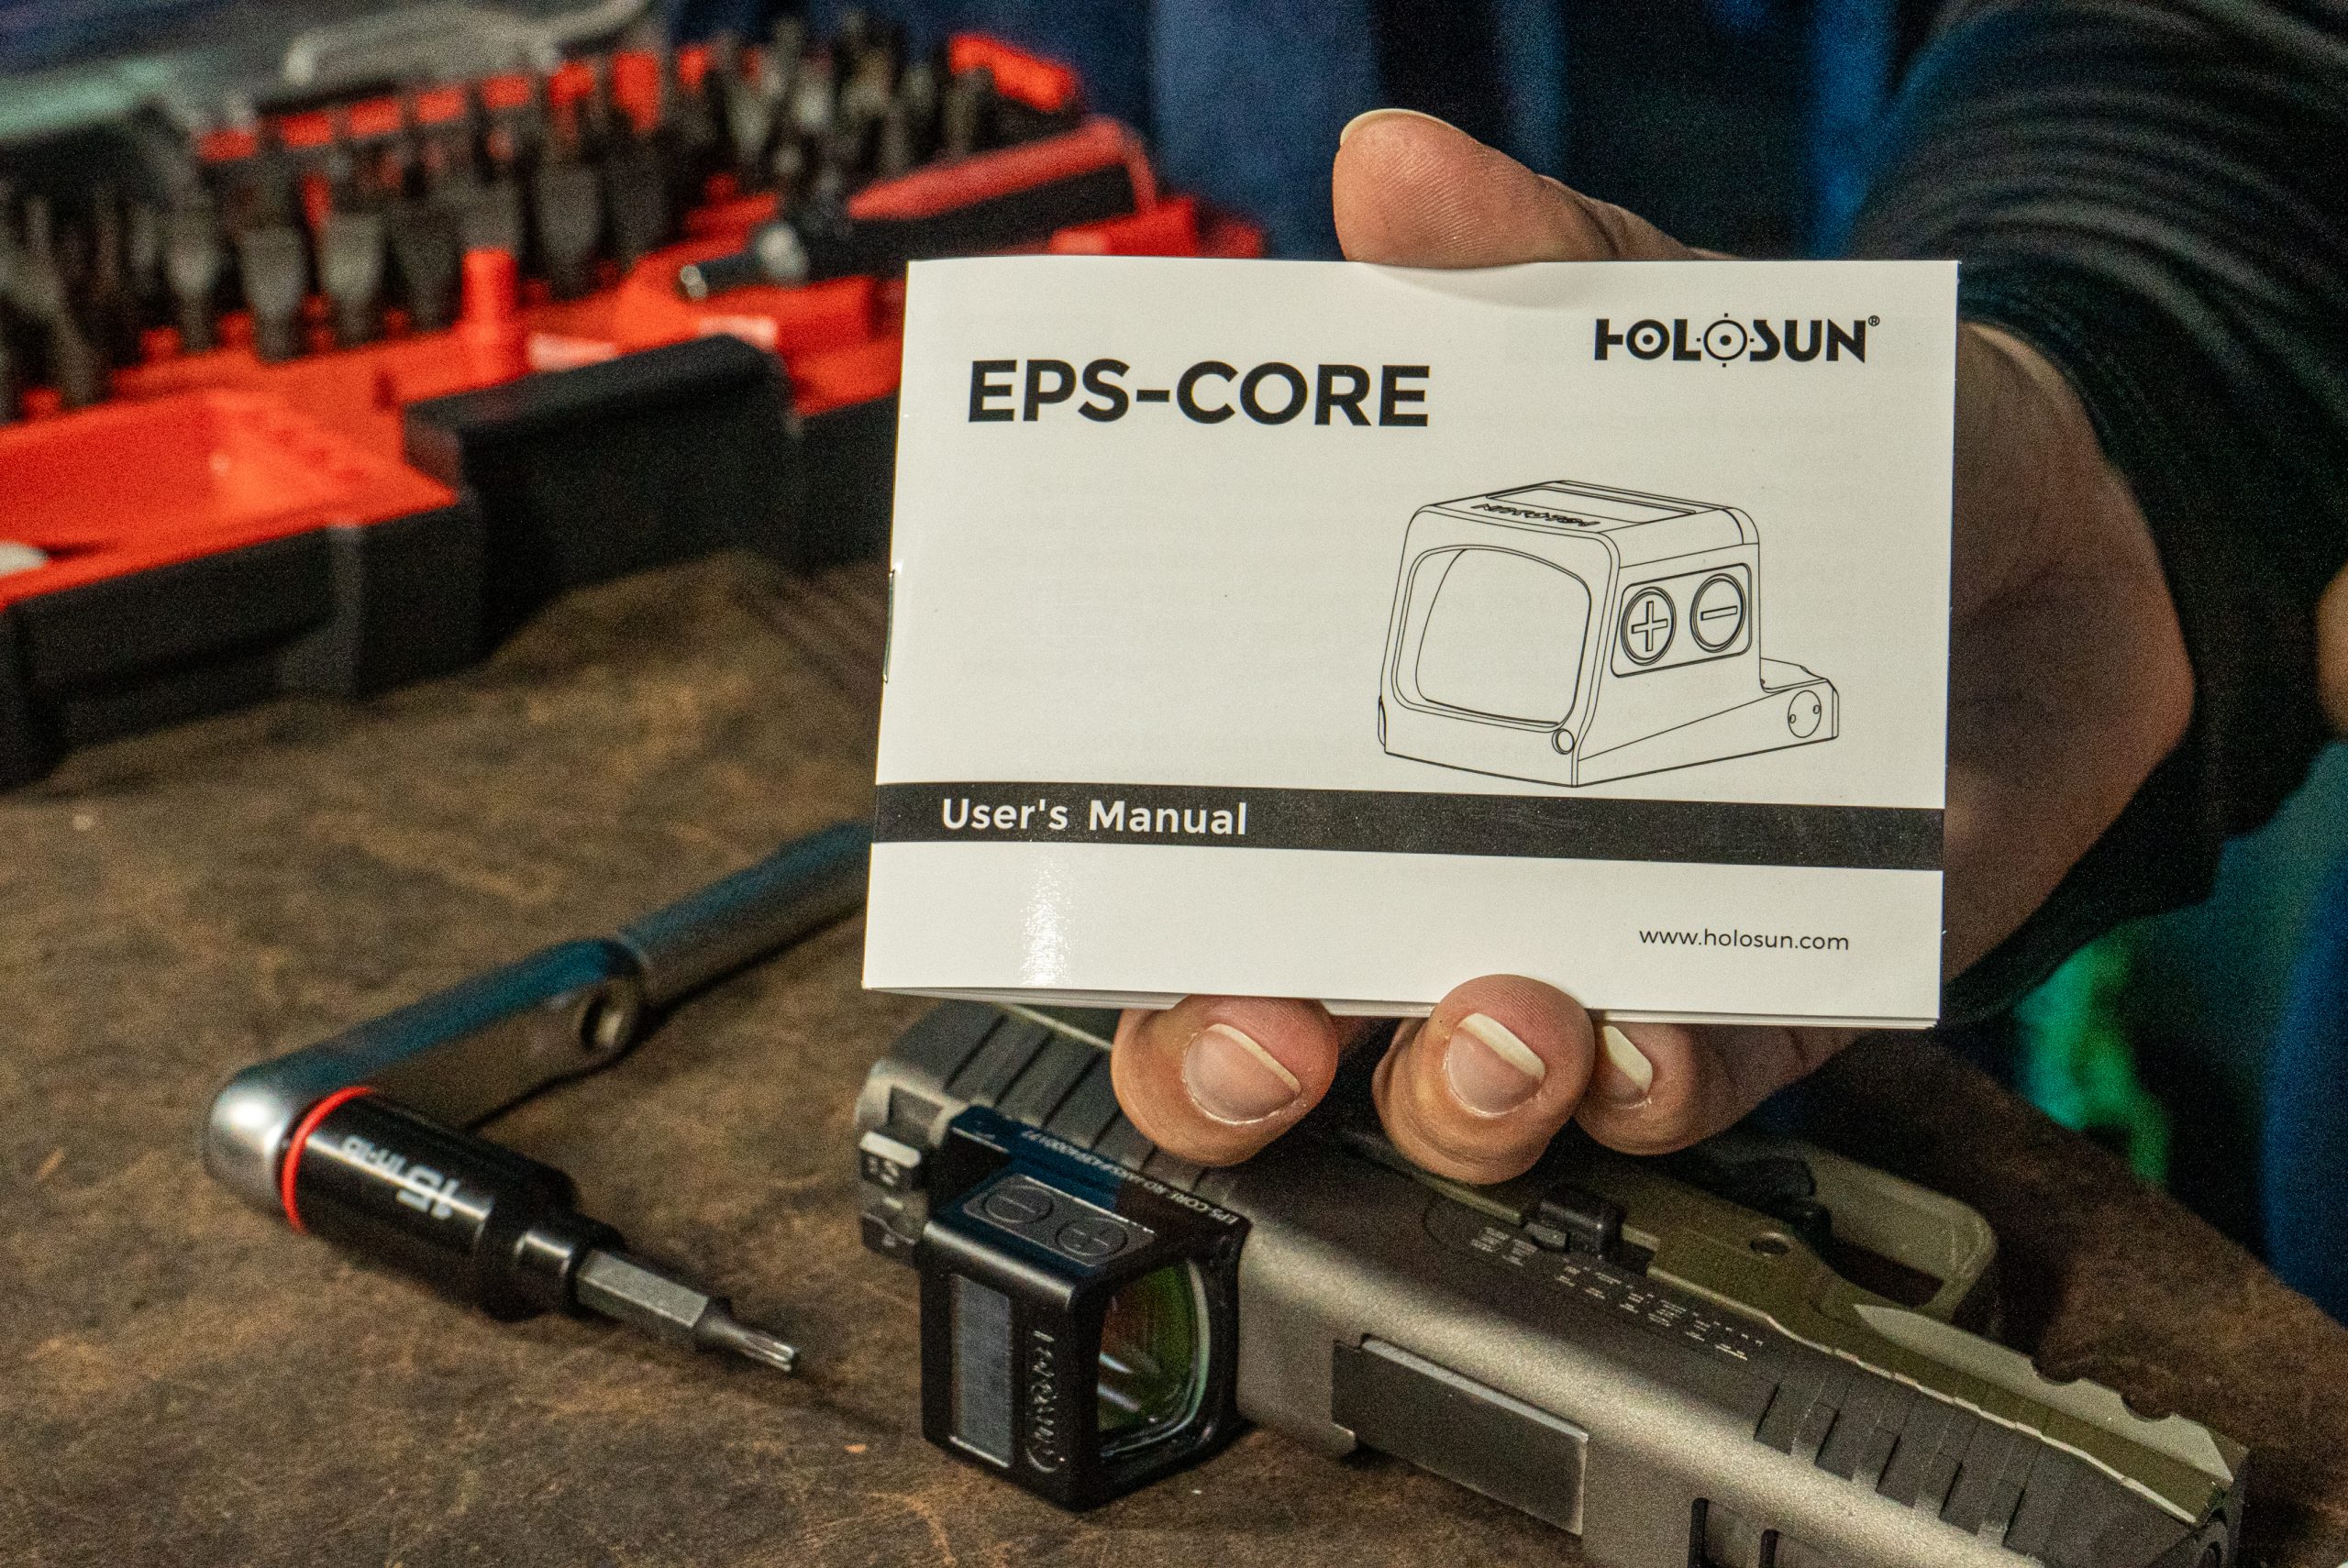
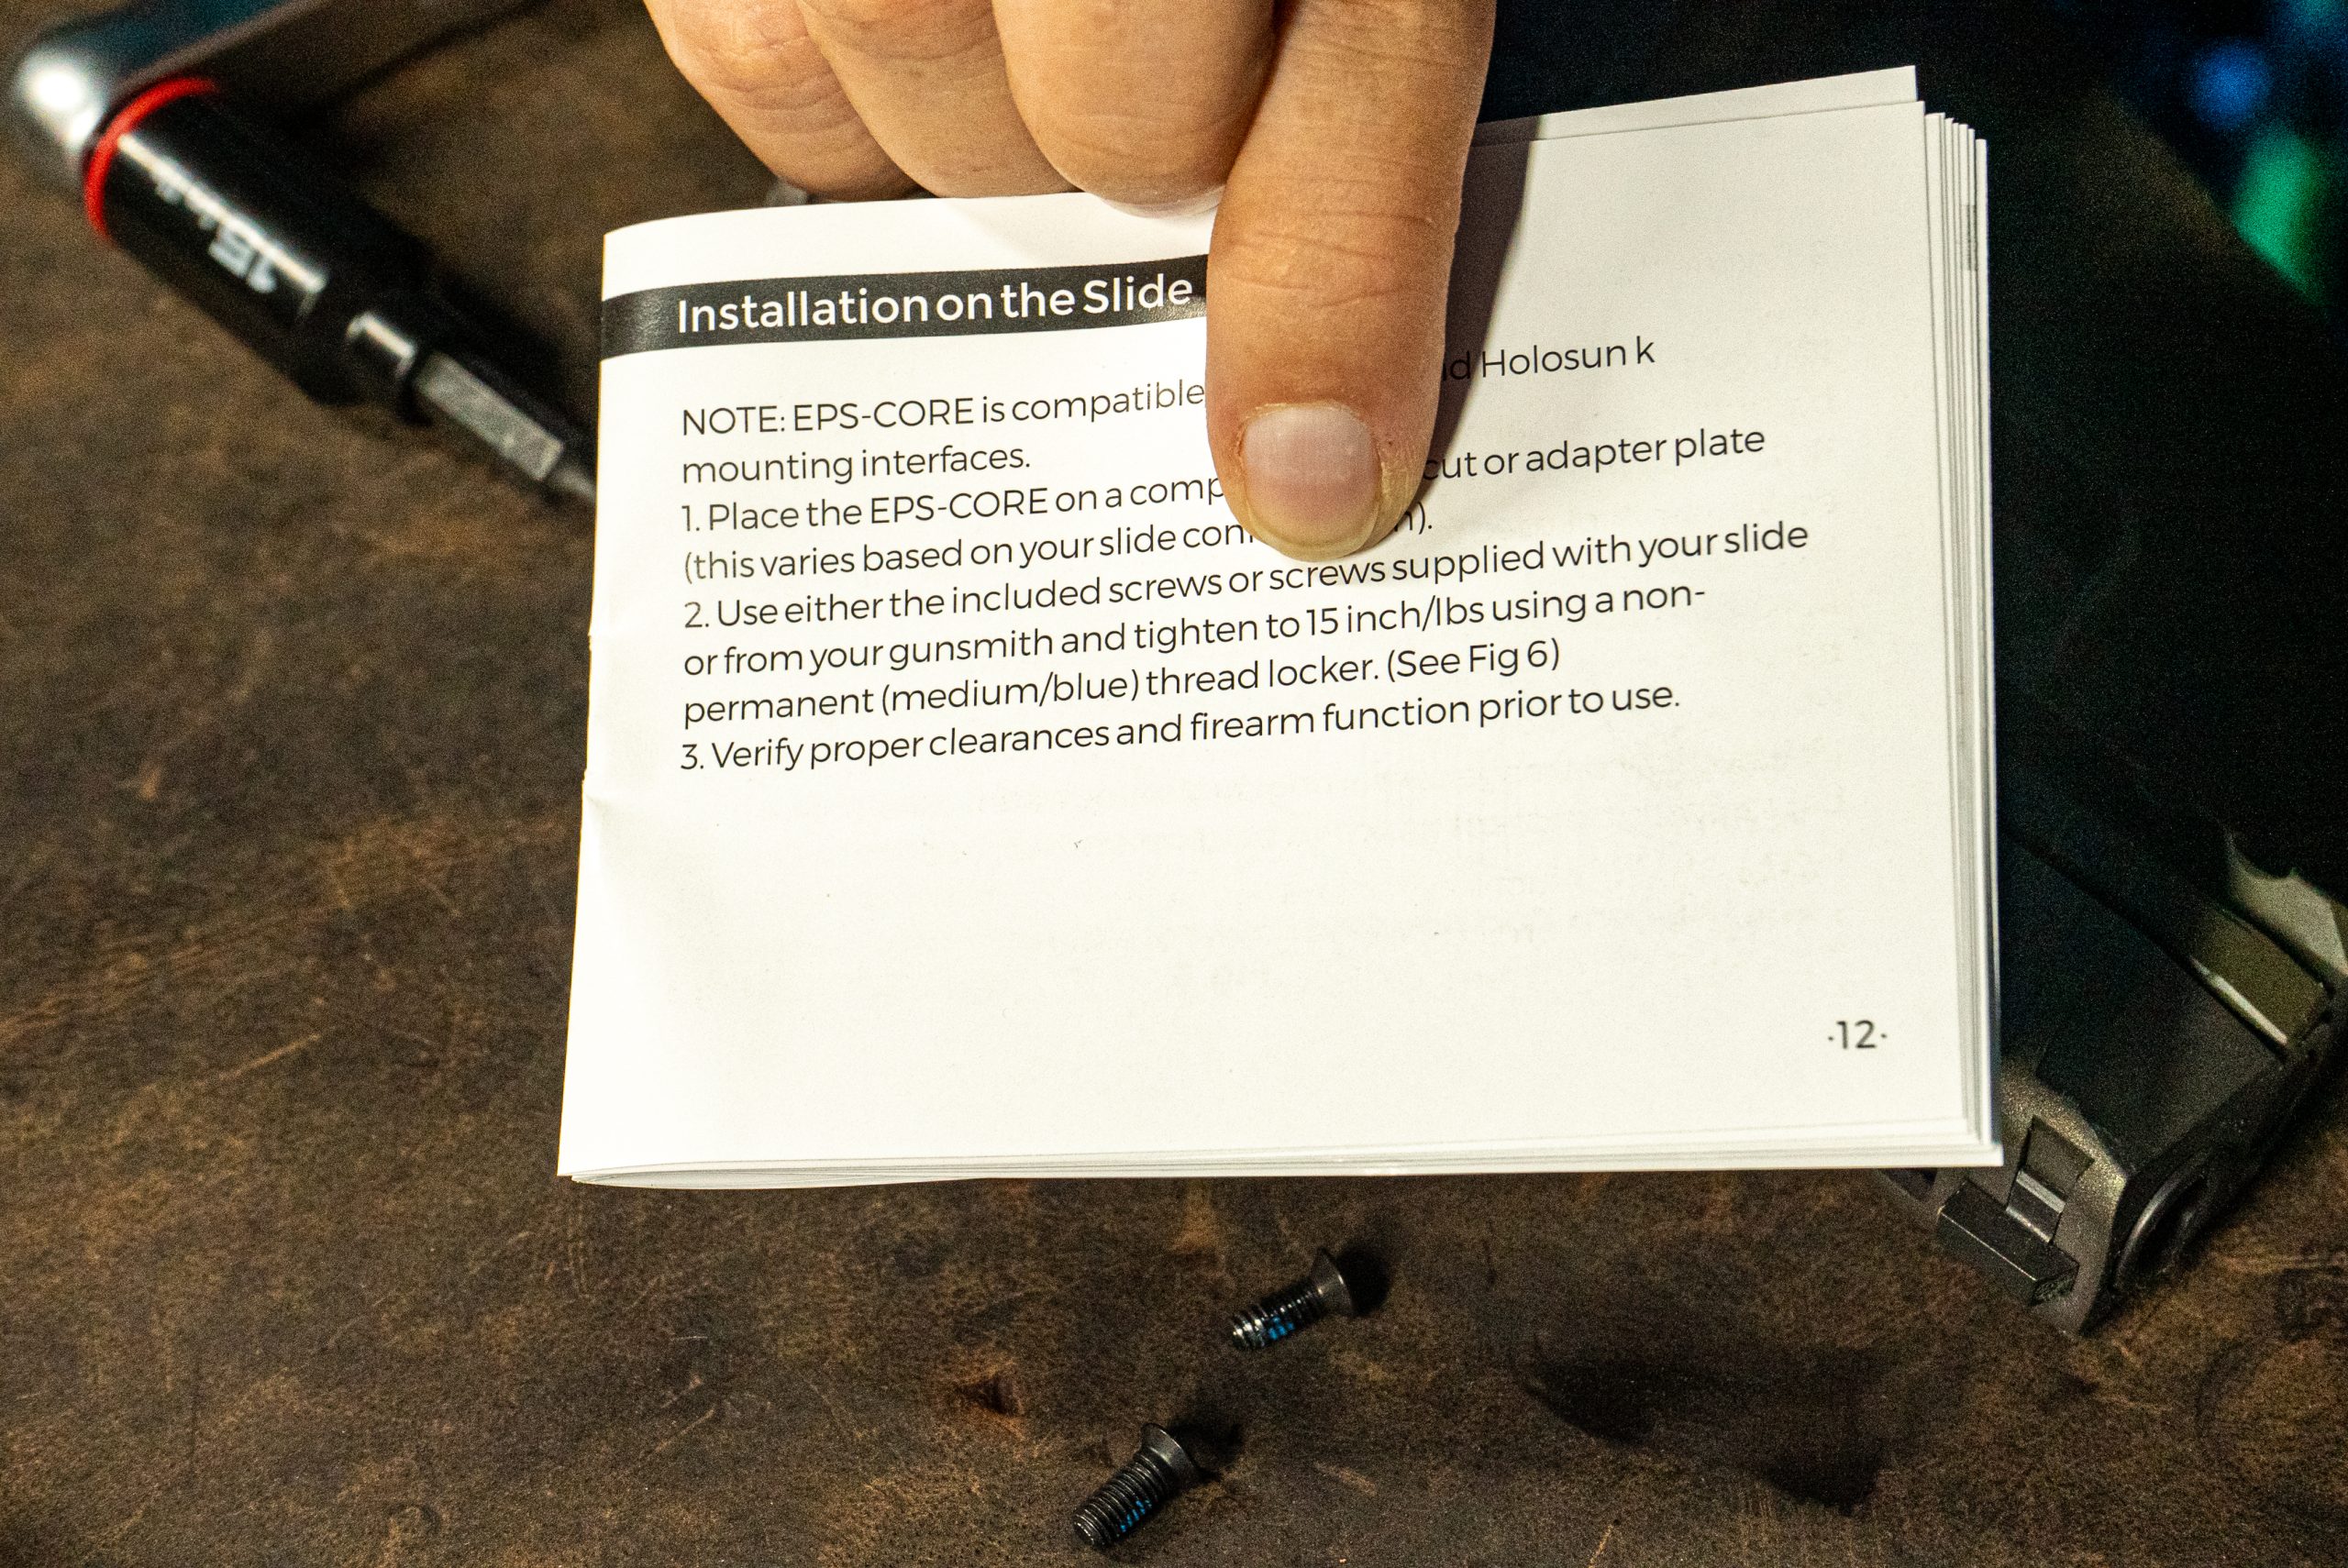
I know there’s almost a 0% chance any of you read the manual, but I’m telling you, you have to read the manual to find the torque settings to mount a red dot optic. Each manufacturer has a specific torque setting for their products and if you don’t follow it, it could cause damage to the optic, the mount or plate (if there is one), and even the gun.
Apply Thread Locker
As I mentioned earlier, manufacturers will usually pre-apply thread locker to the set screws they send with their optic. I recommend applying fresh Loctite if you have it, but before you do that, ensure your set screws are the right one for your gun and optic combination. Many red dot optics ship with multiple pairs of set screws to ensure compatibility with a multitude of firearms. They’ll send set screws of varying lengths and thread pitches. Before you start Loctiting set screws and screwing them in, make sure you chose the right pair for your optic to go on top of your handgun. Give the gun and optic at least 24 hours to let the Loctite set and dry before using the firearm. That means you might have to plan a day without your favorite carry gun or a day you don’t live fire or dry fire your competition pistol. Giving it time to set is crucial.
Torque to Specifications
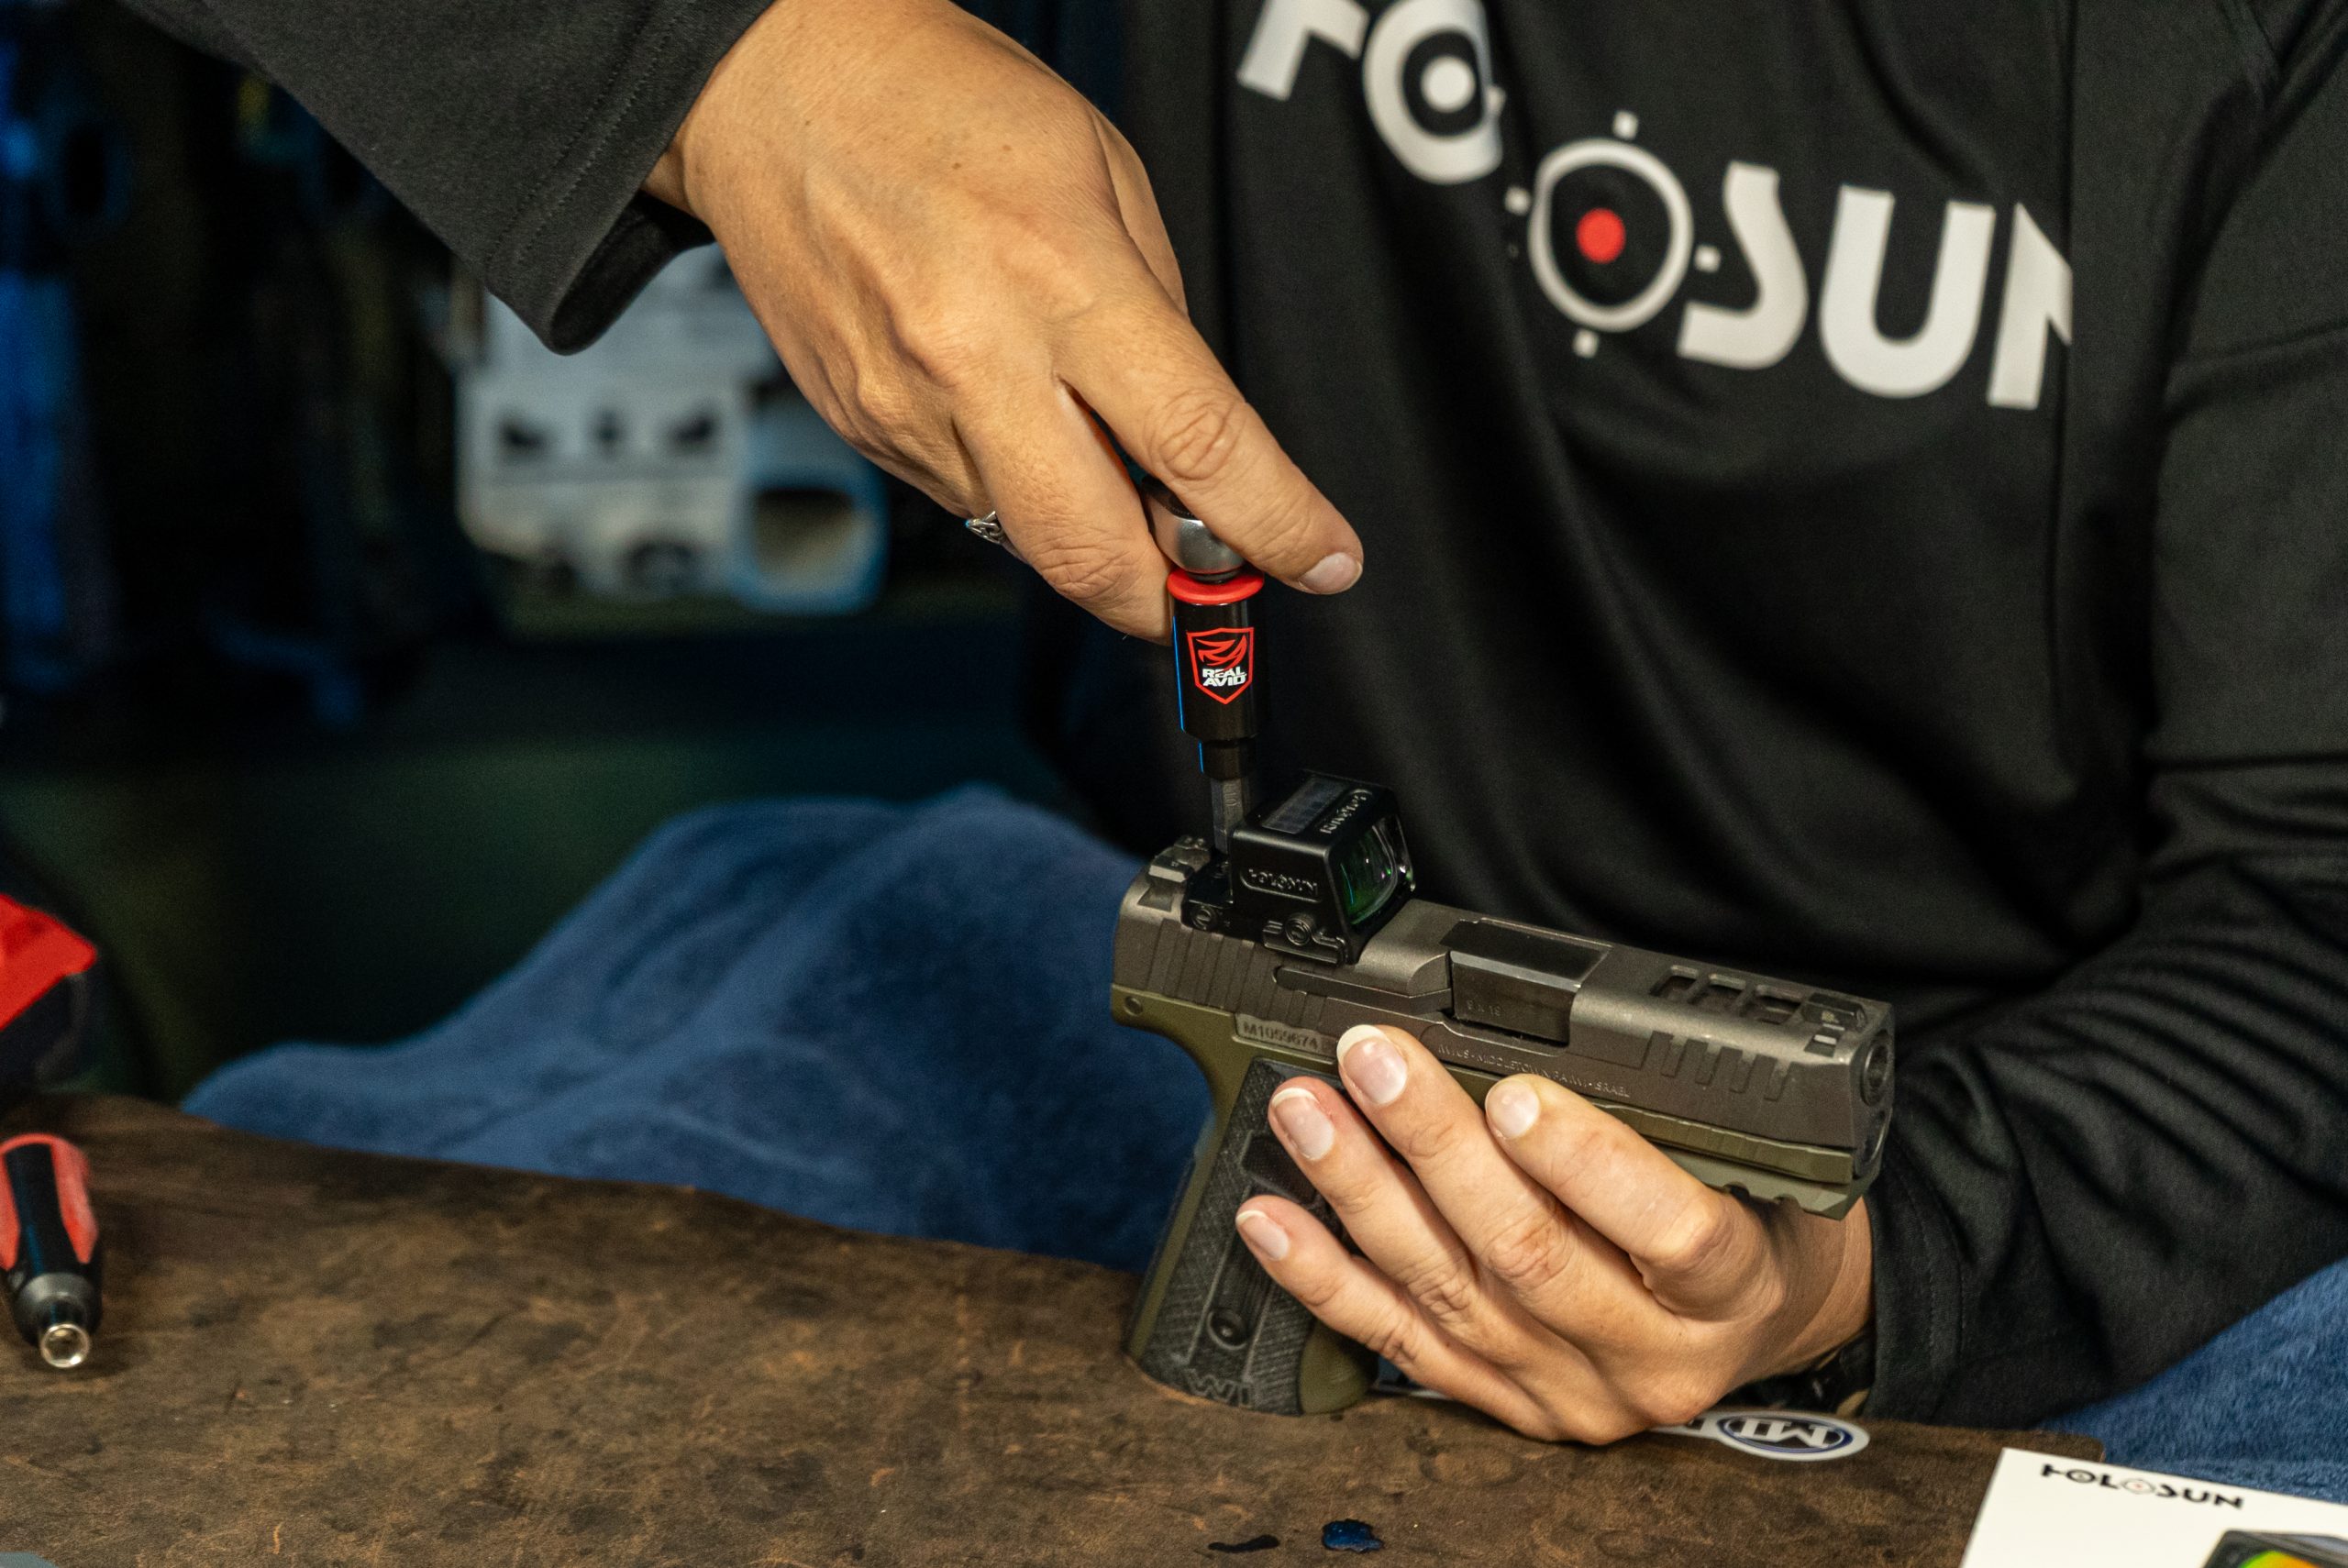
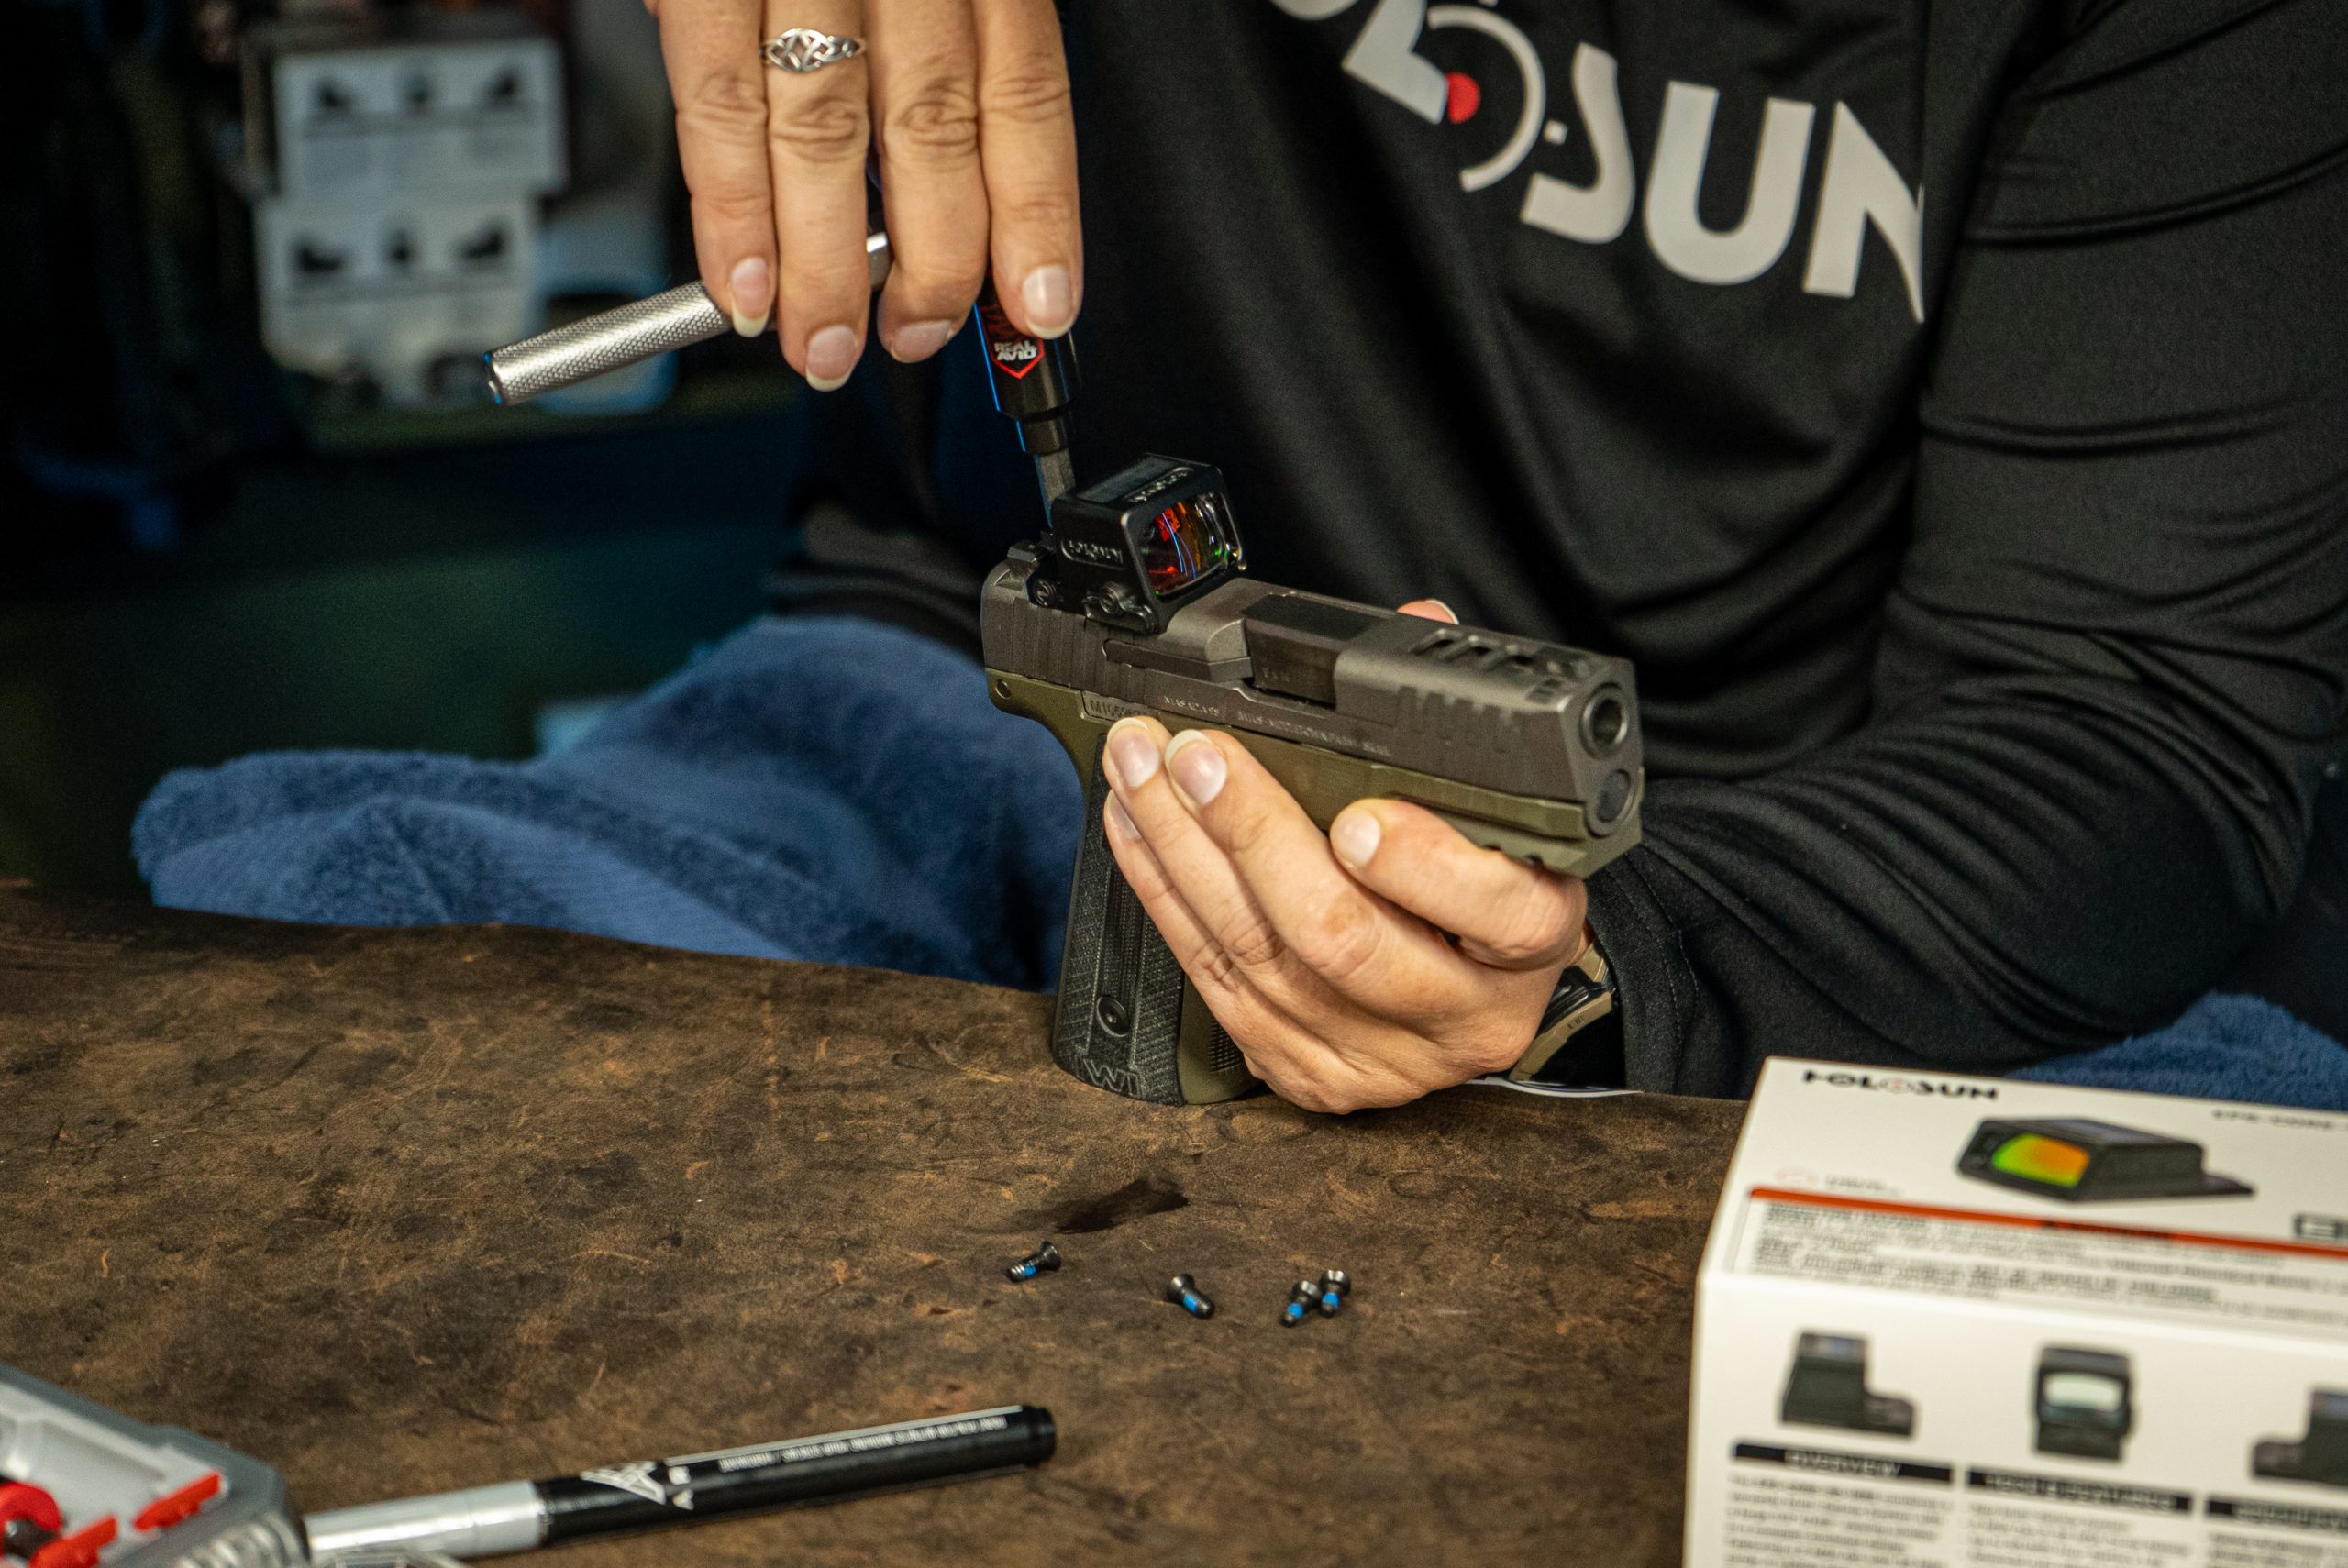
Once the set screws are in, torque them to the specifications that are written in the manual. I recommend slowly tightening each screw down, going back and forth, before tightening all the way. The Holosun EPS CORE required 15 inch/lbs. I used the Real Avid tool set with the 15inch/lb driver to tighten each screw until the driver clicked and signaled it was torqued to the recommended specifications.
Make Your Witness Marks
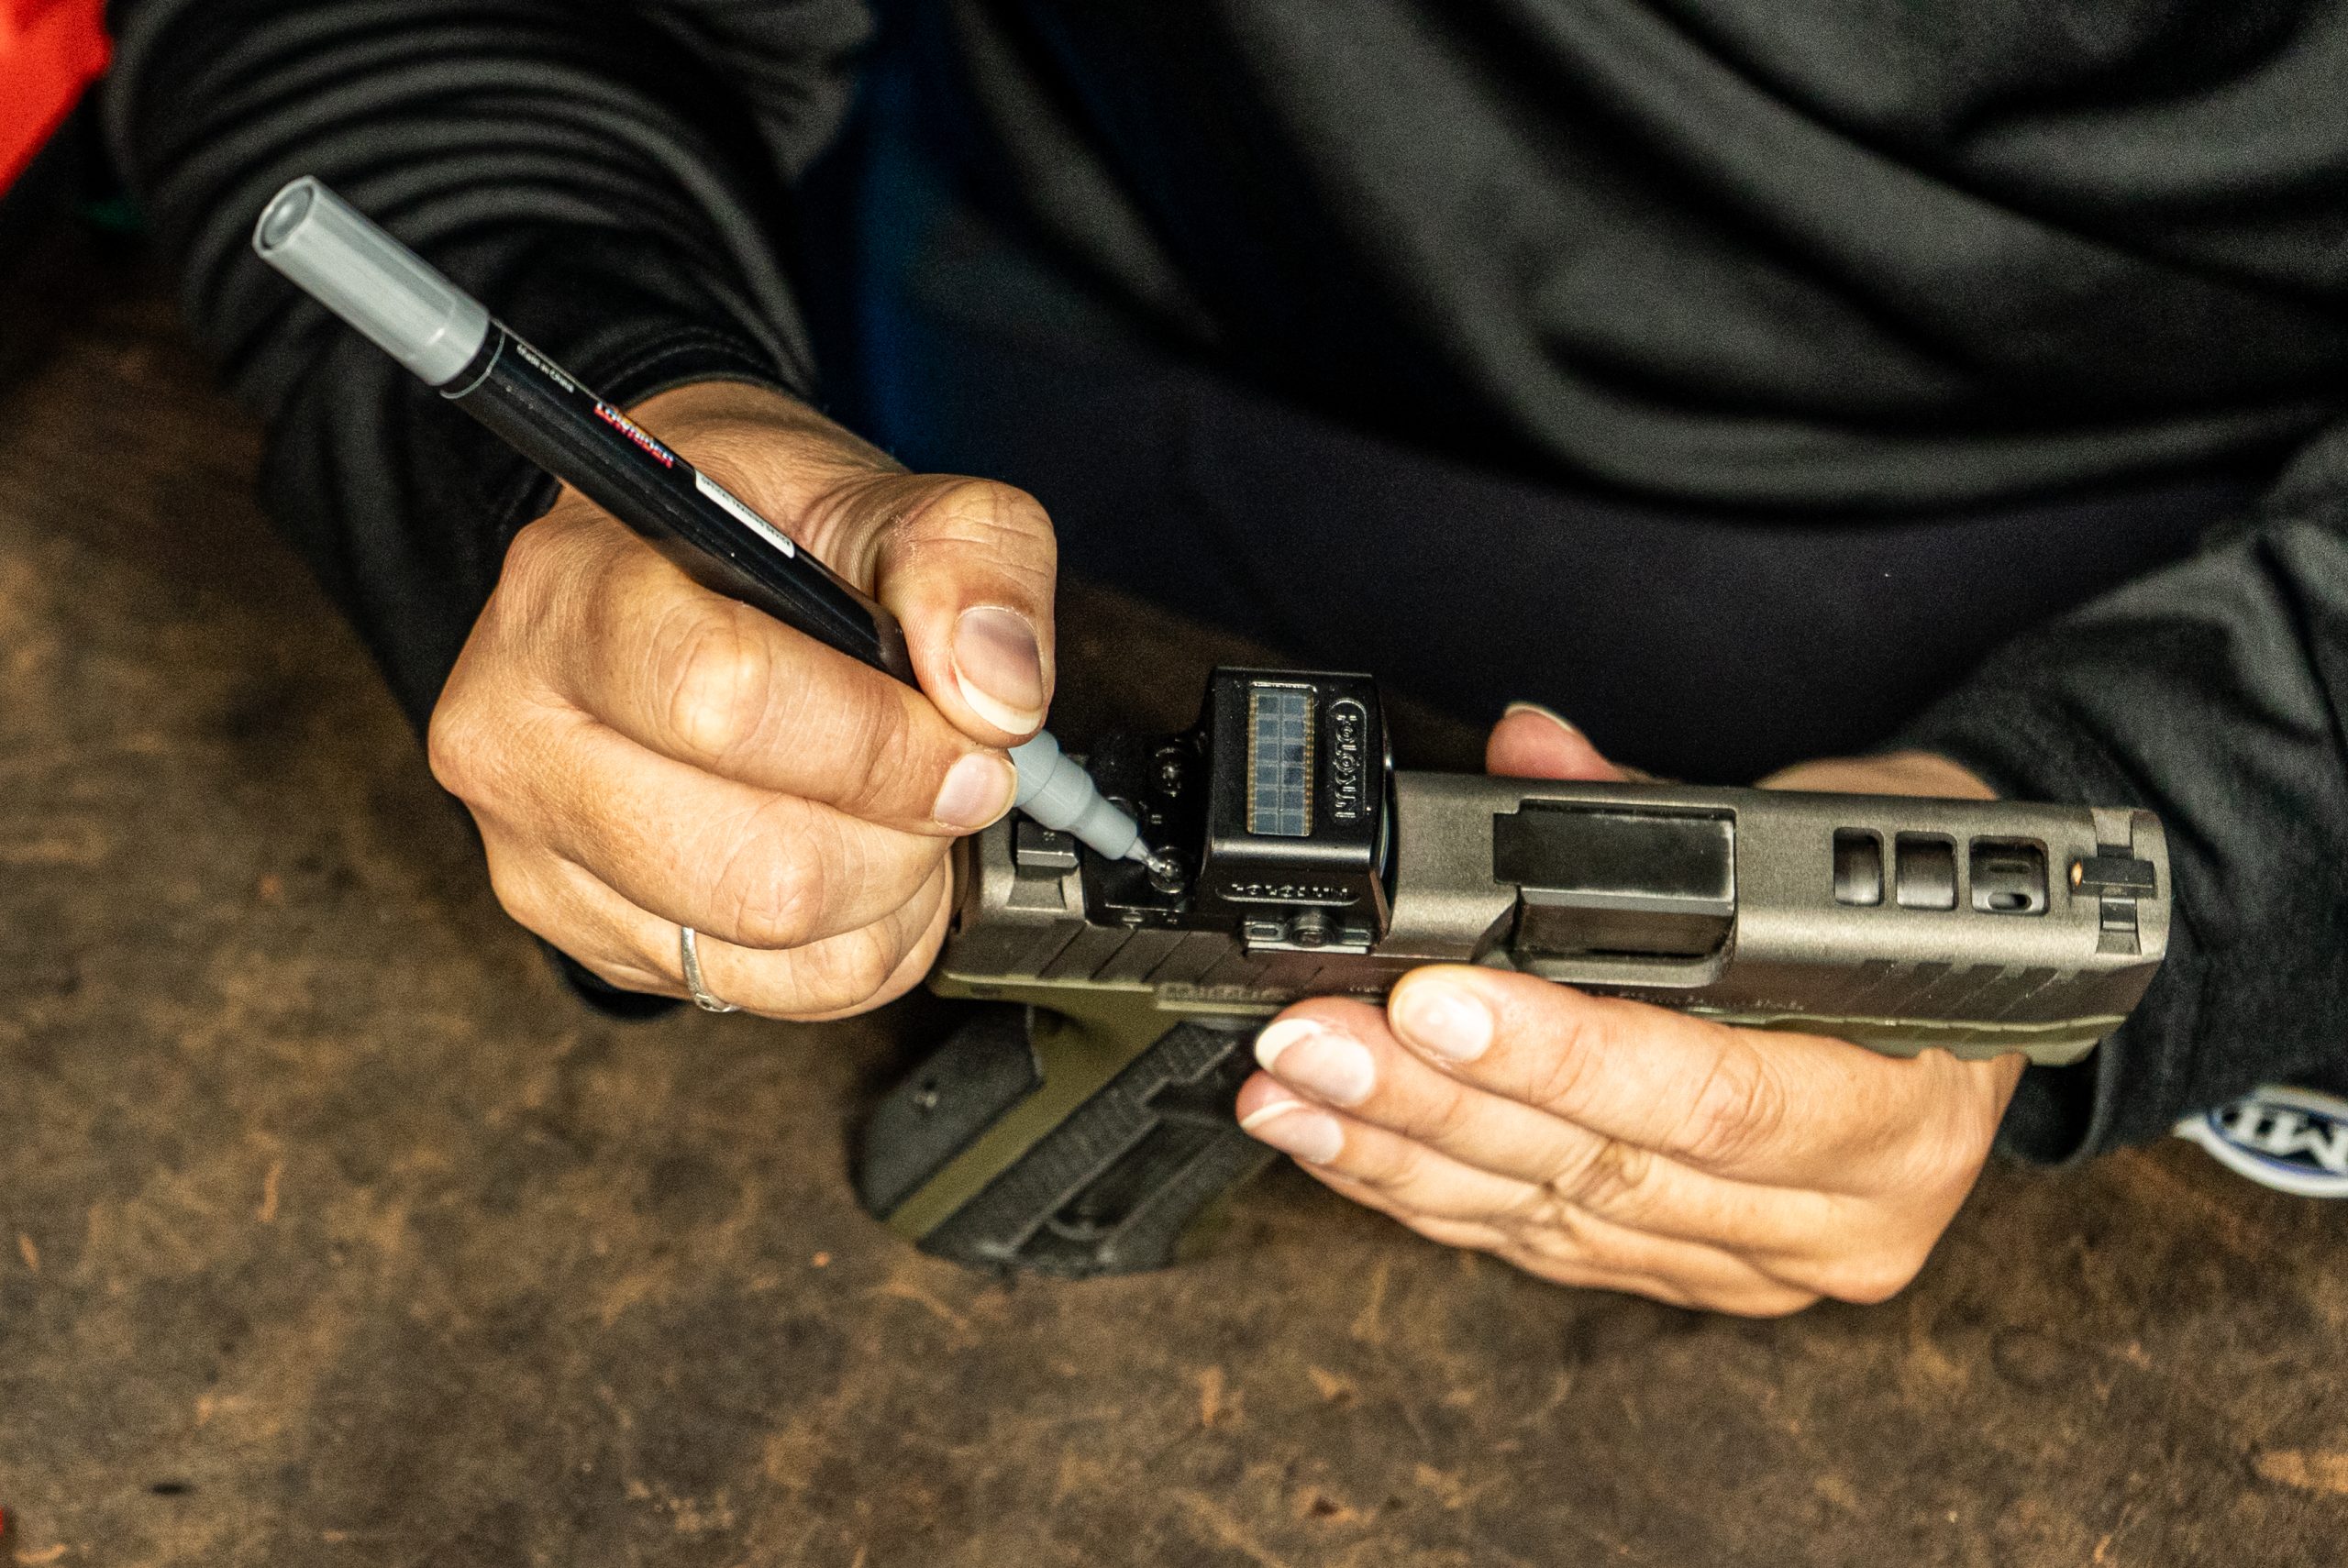
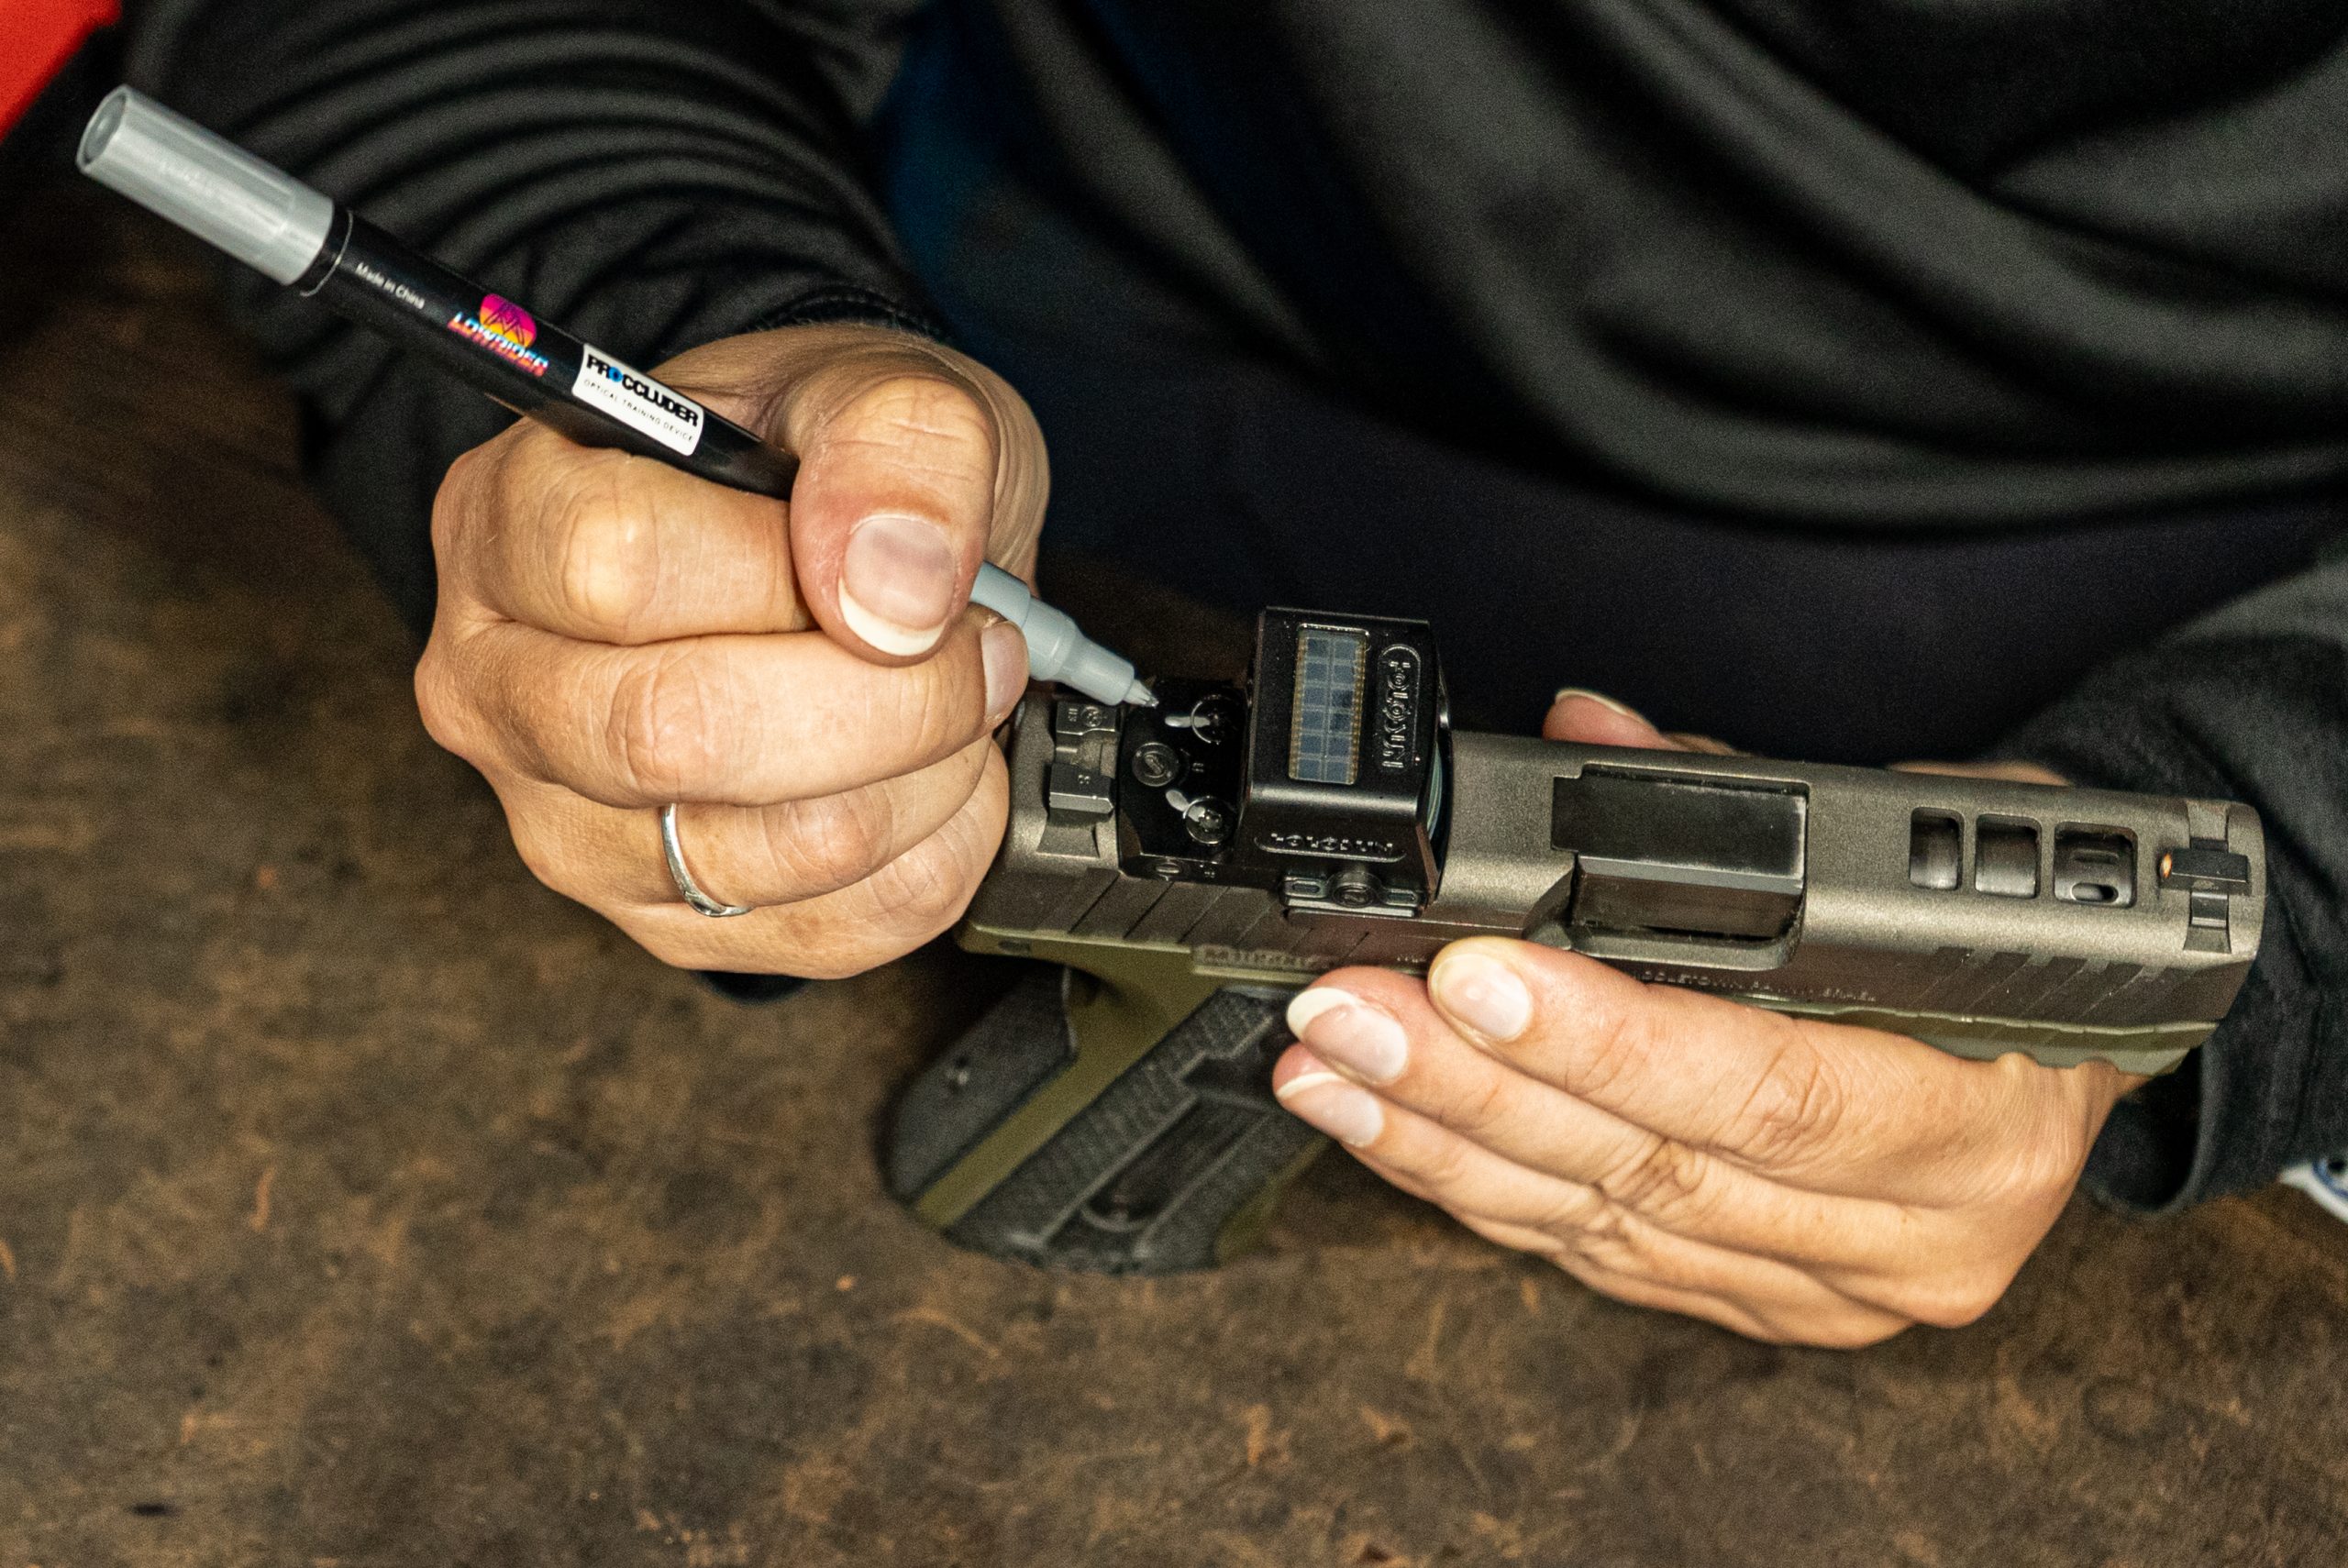
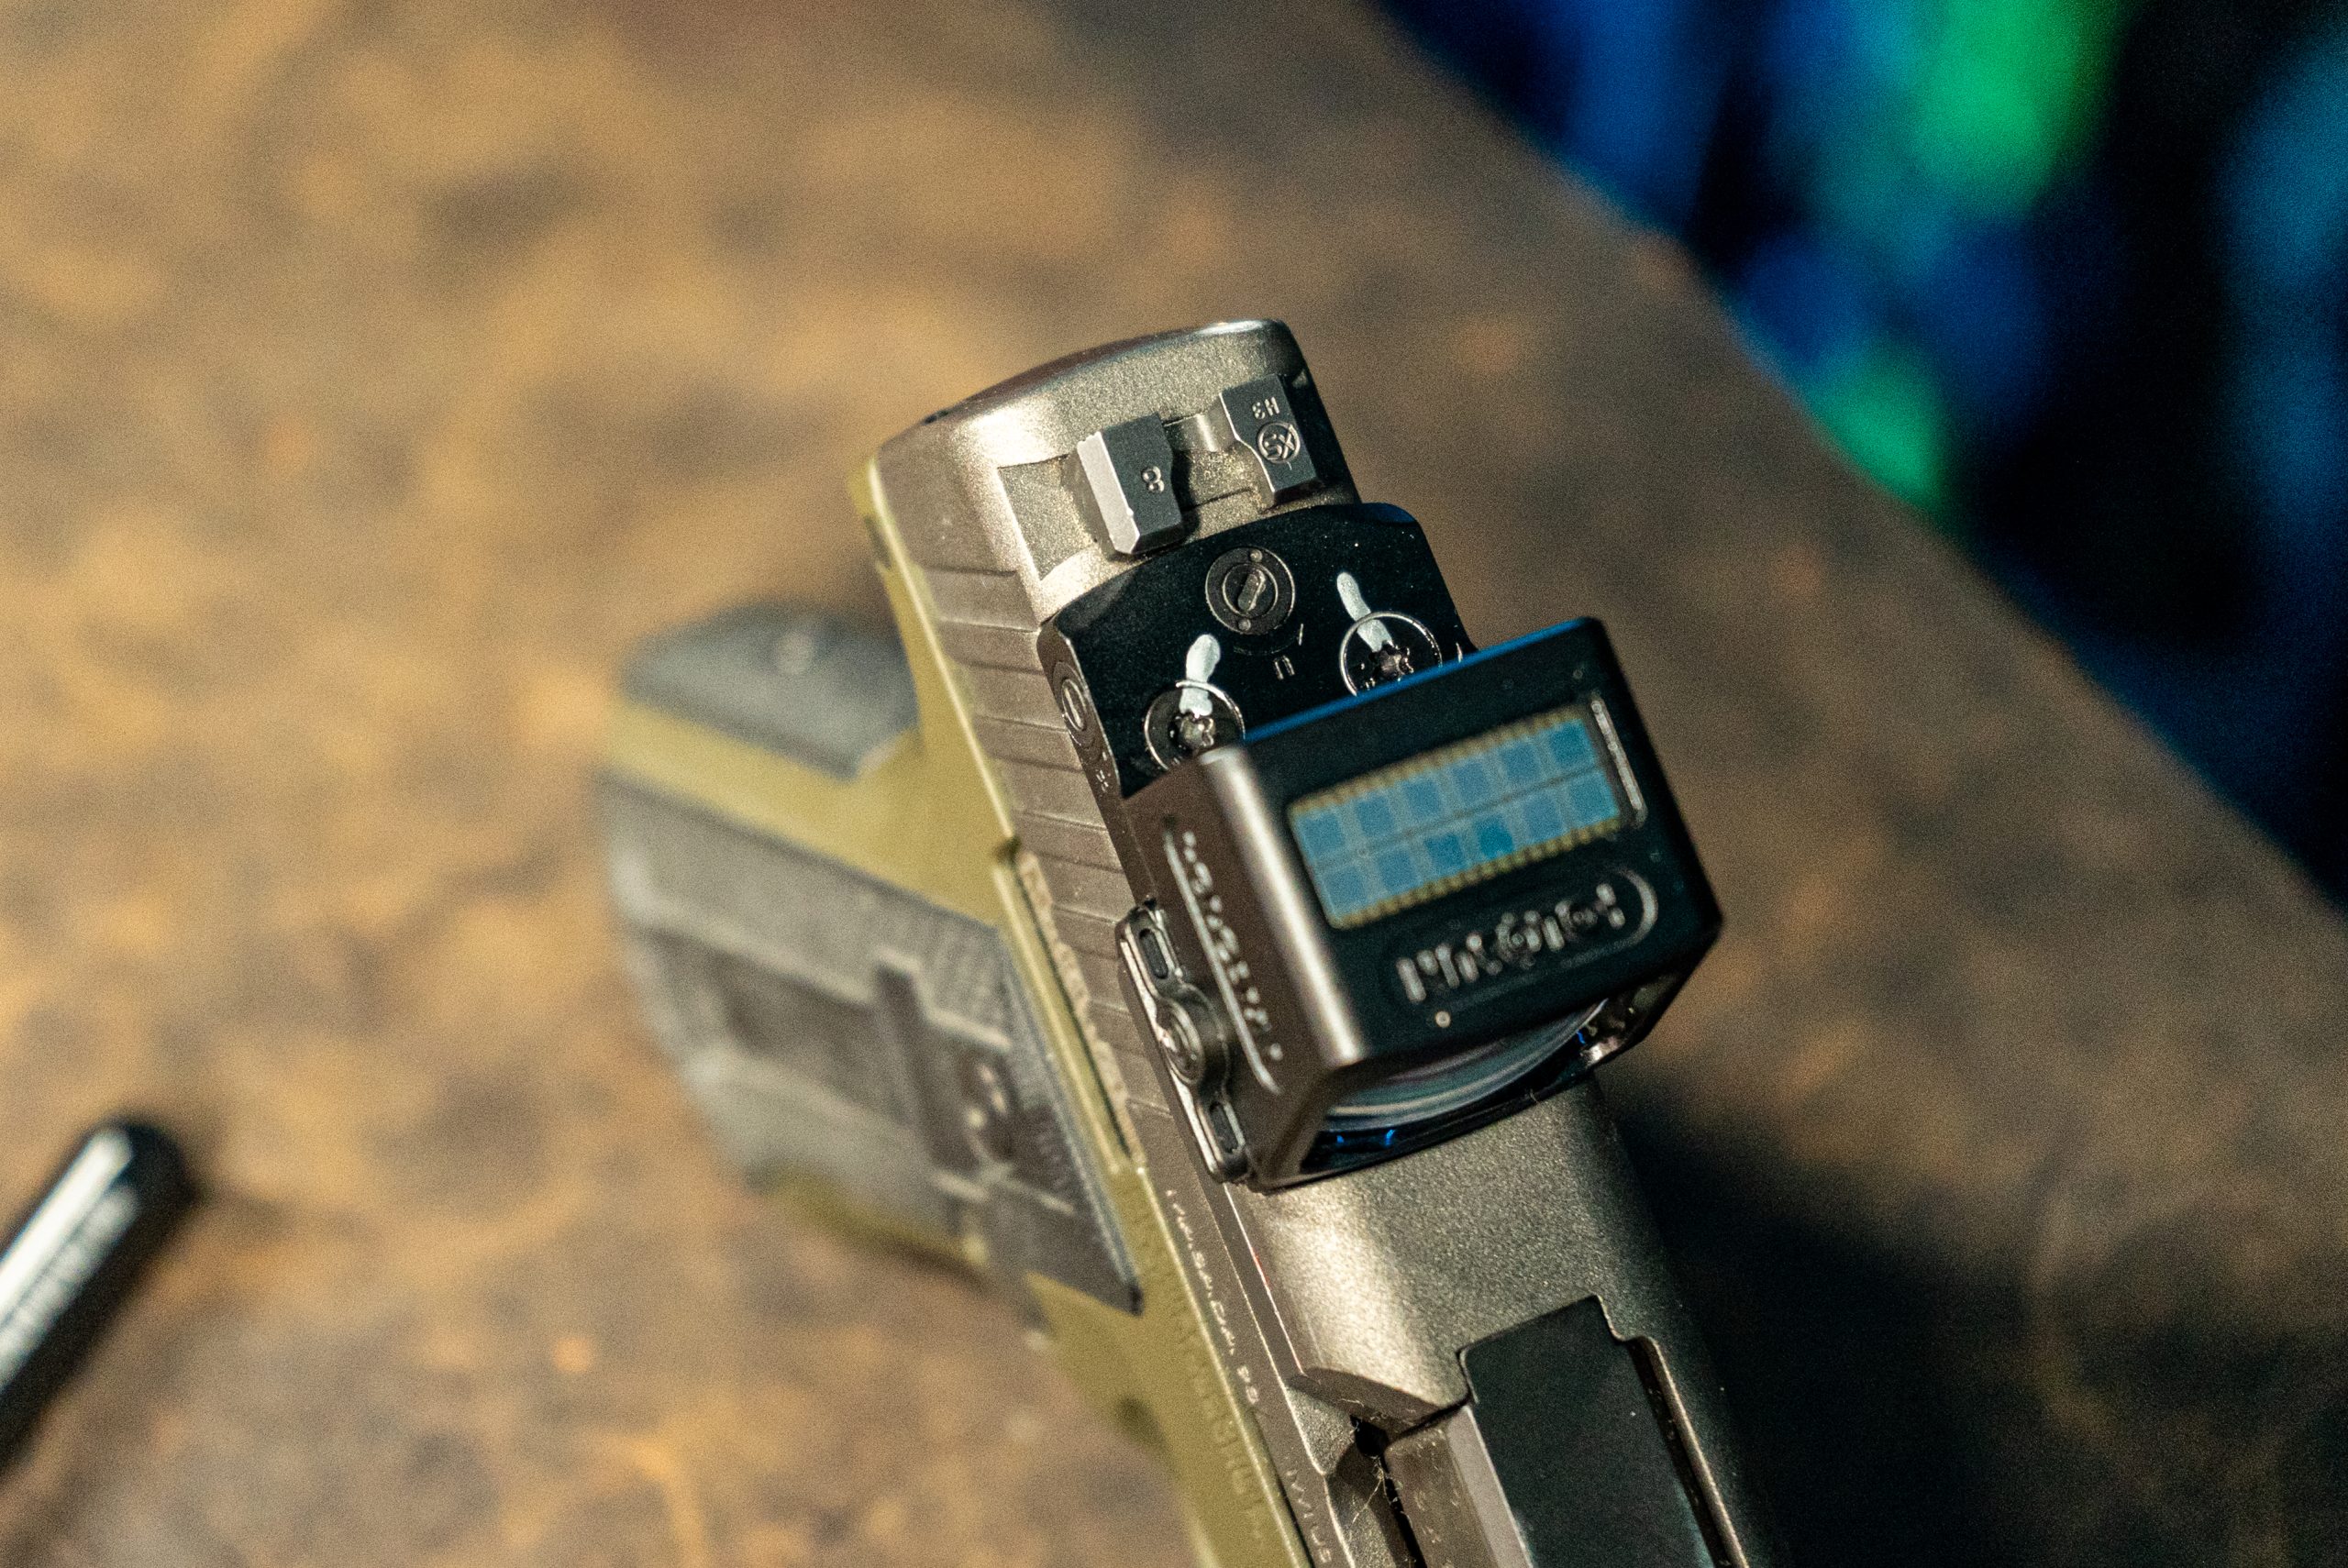
The final step in the process to mount a red dot optic is to make witness marks on each set screw. You want the mark to extend from the top of the set screw to the optic itself. The purpose of the witness mark is to identify an issue with a set screw if a screw starts to loosen over time. If a screw loosens, the line you drew will no longer be straight and you’ll know if a screw started to back out. I also mark my battery compartment screws when I install a new red dot optic to ensure there are no issues in the future with that either.
Share with a Friend
While we can all laugh about the mistakes we’ve made over the years with our firearms, this is a great article to share with a friend. If you know someone that’s curious about using a red dot, send them this guide to help set them up for success! Share your do’s and don’t’s with them, and let’s share as much knowledge as possible when it comes to guns, optics, suppressors, gear, and more!